Manage initiatives
Understand the basics
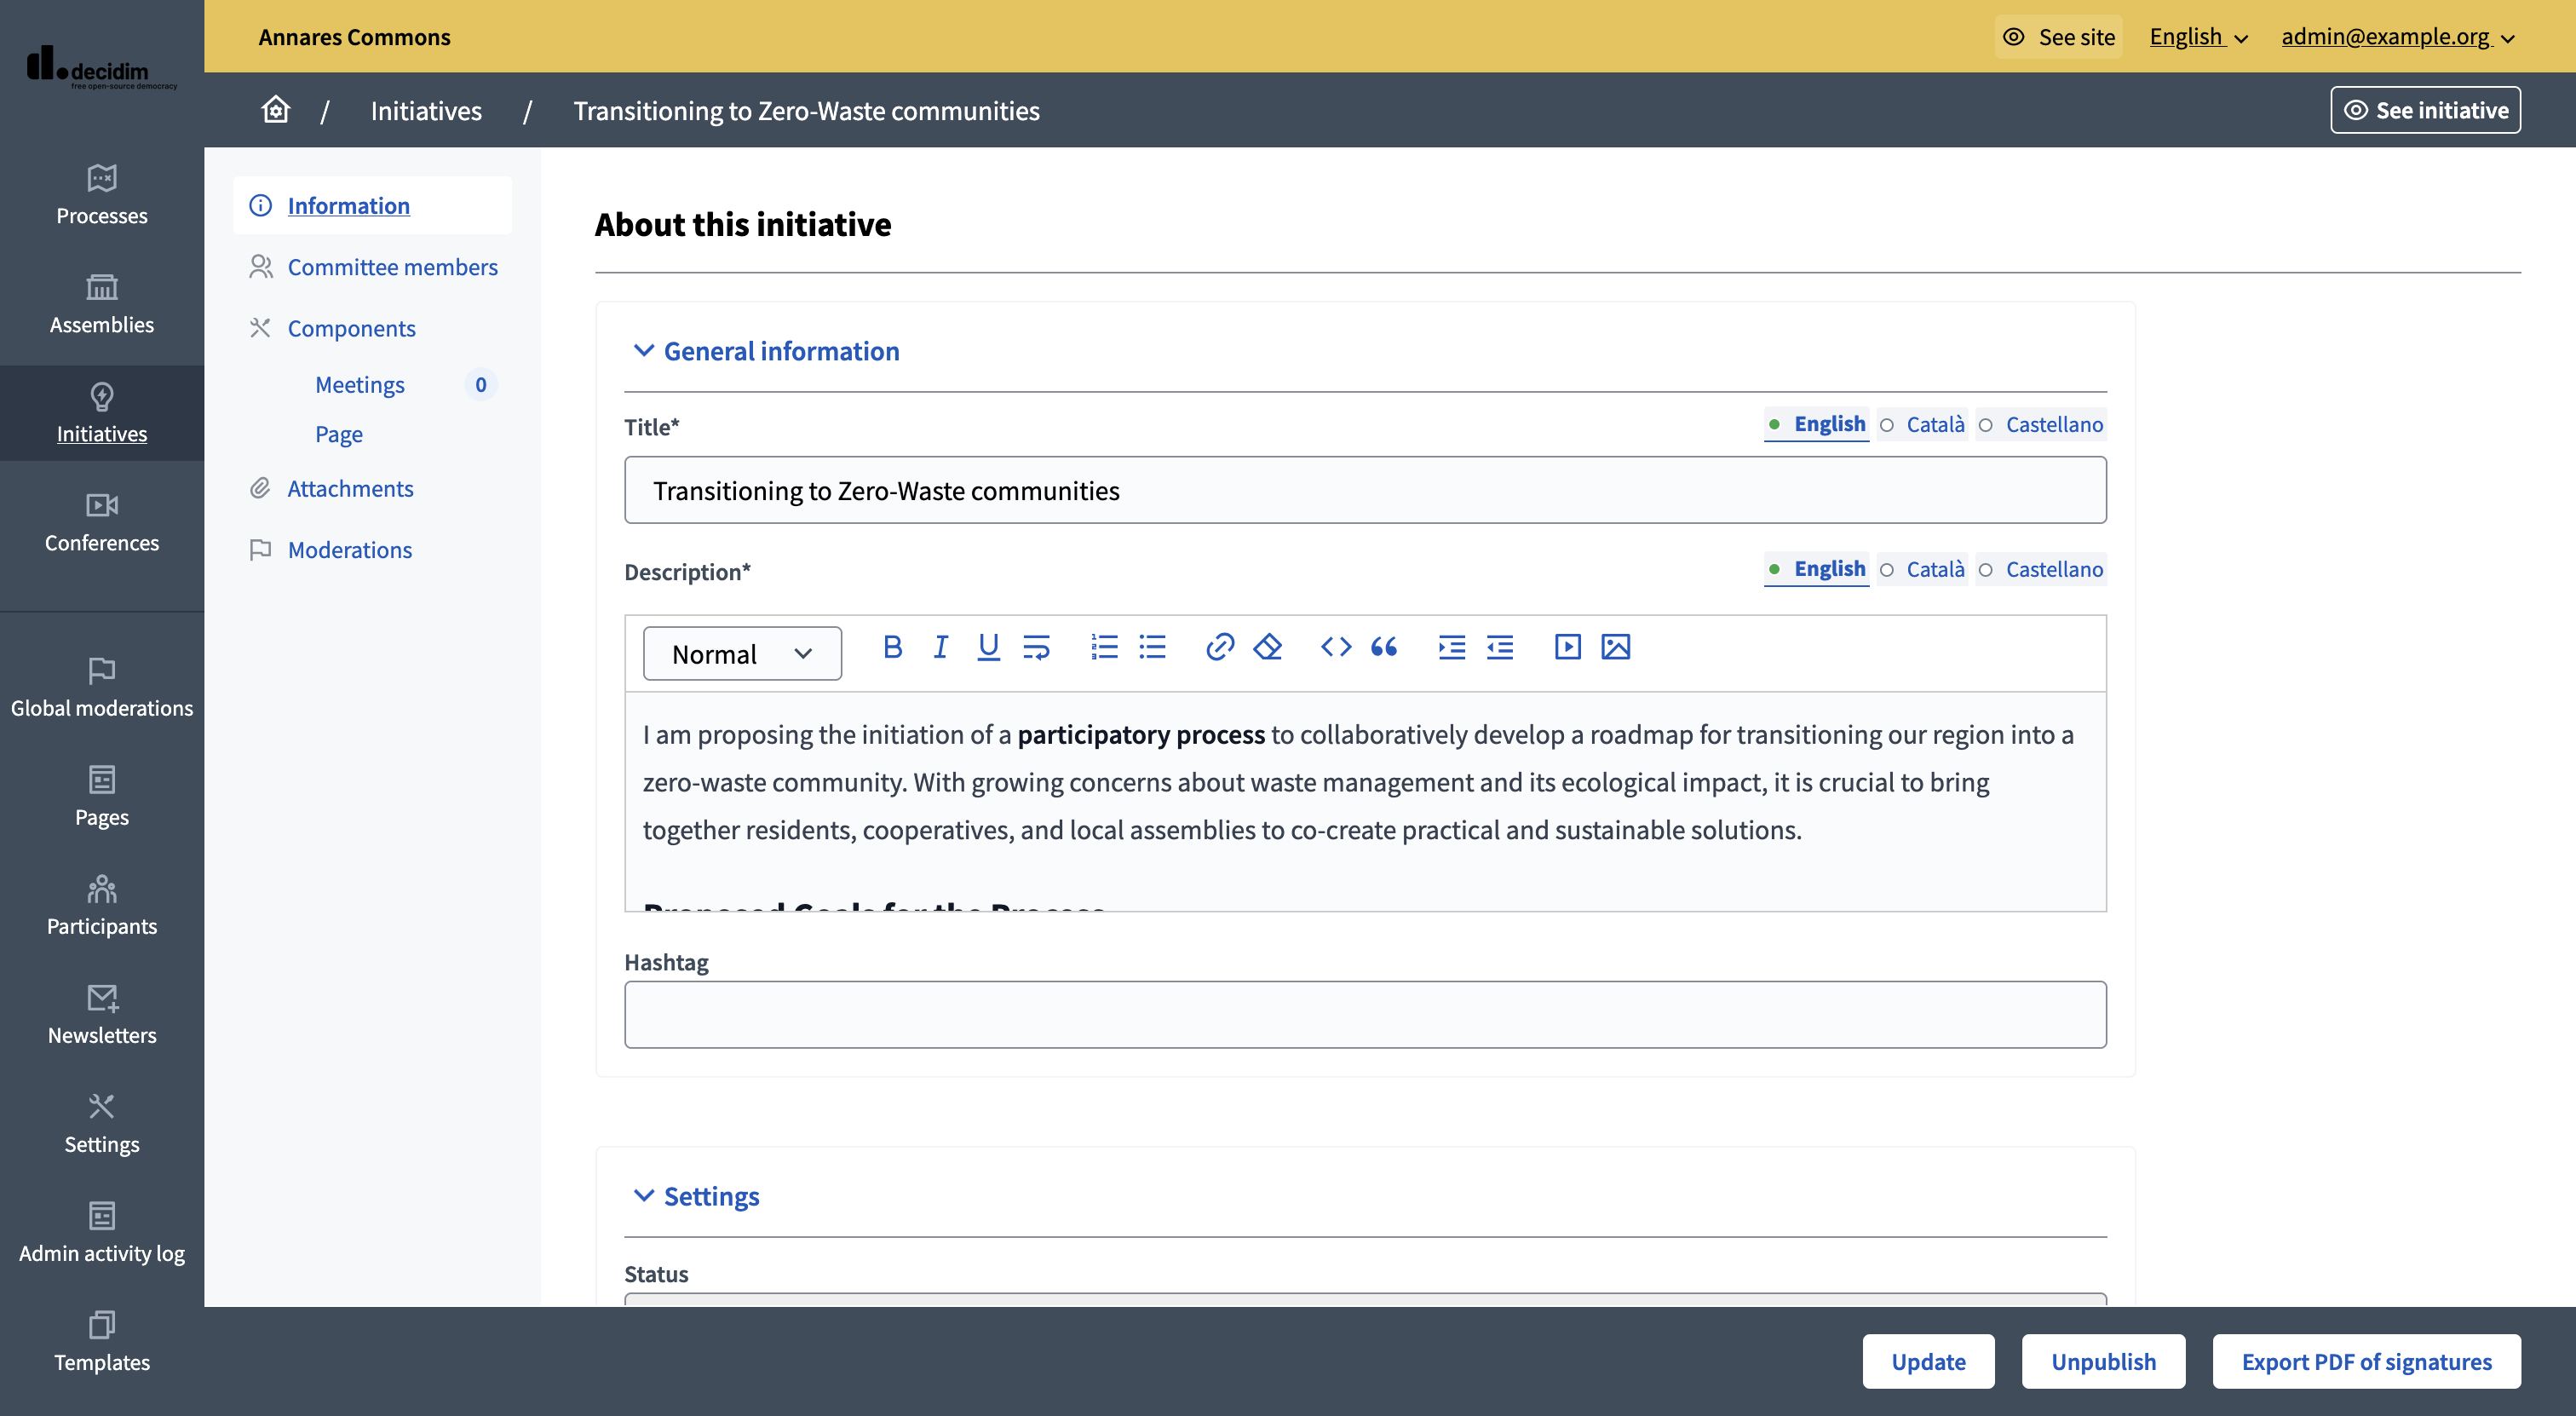
When a participant creates an initiative, it doesn’t only create a resource like a proposal, it creates a whole space, allowing administrators to manage in the administration:
| If you didn’t configure it, once an initiative is created, it gets the Meetings and Page component enabled by default. Ask your instance implementer to modify this parameter if you don’t need it, or want other components enabled by default. |
Configuration
Manage initiatives
After the initiative was sent to technical validation by a participant, an administrator can view all the initiatives in the administration panel.
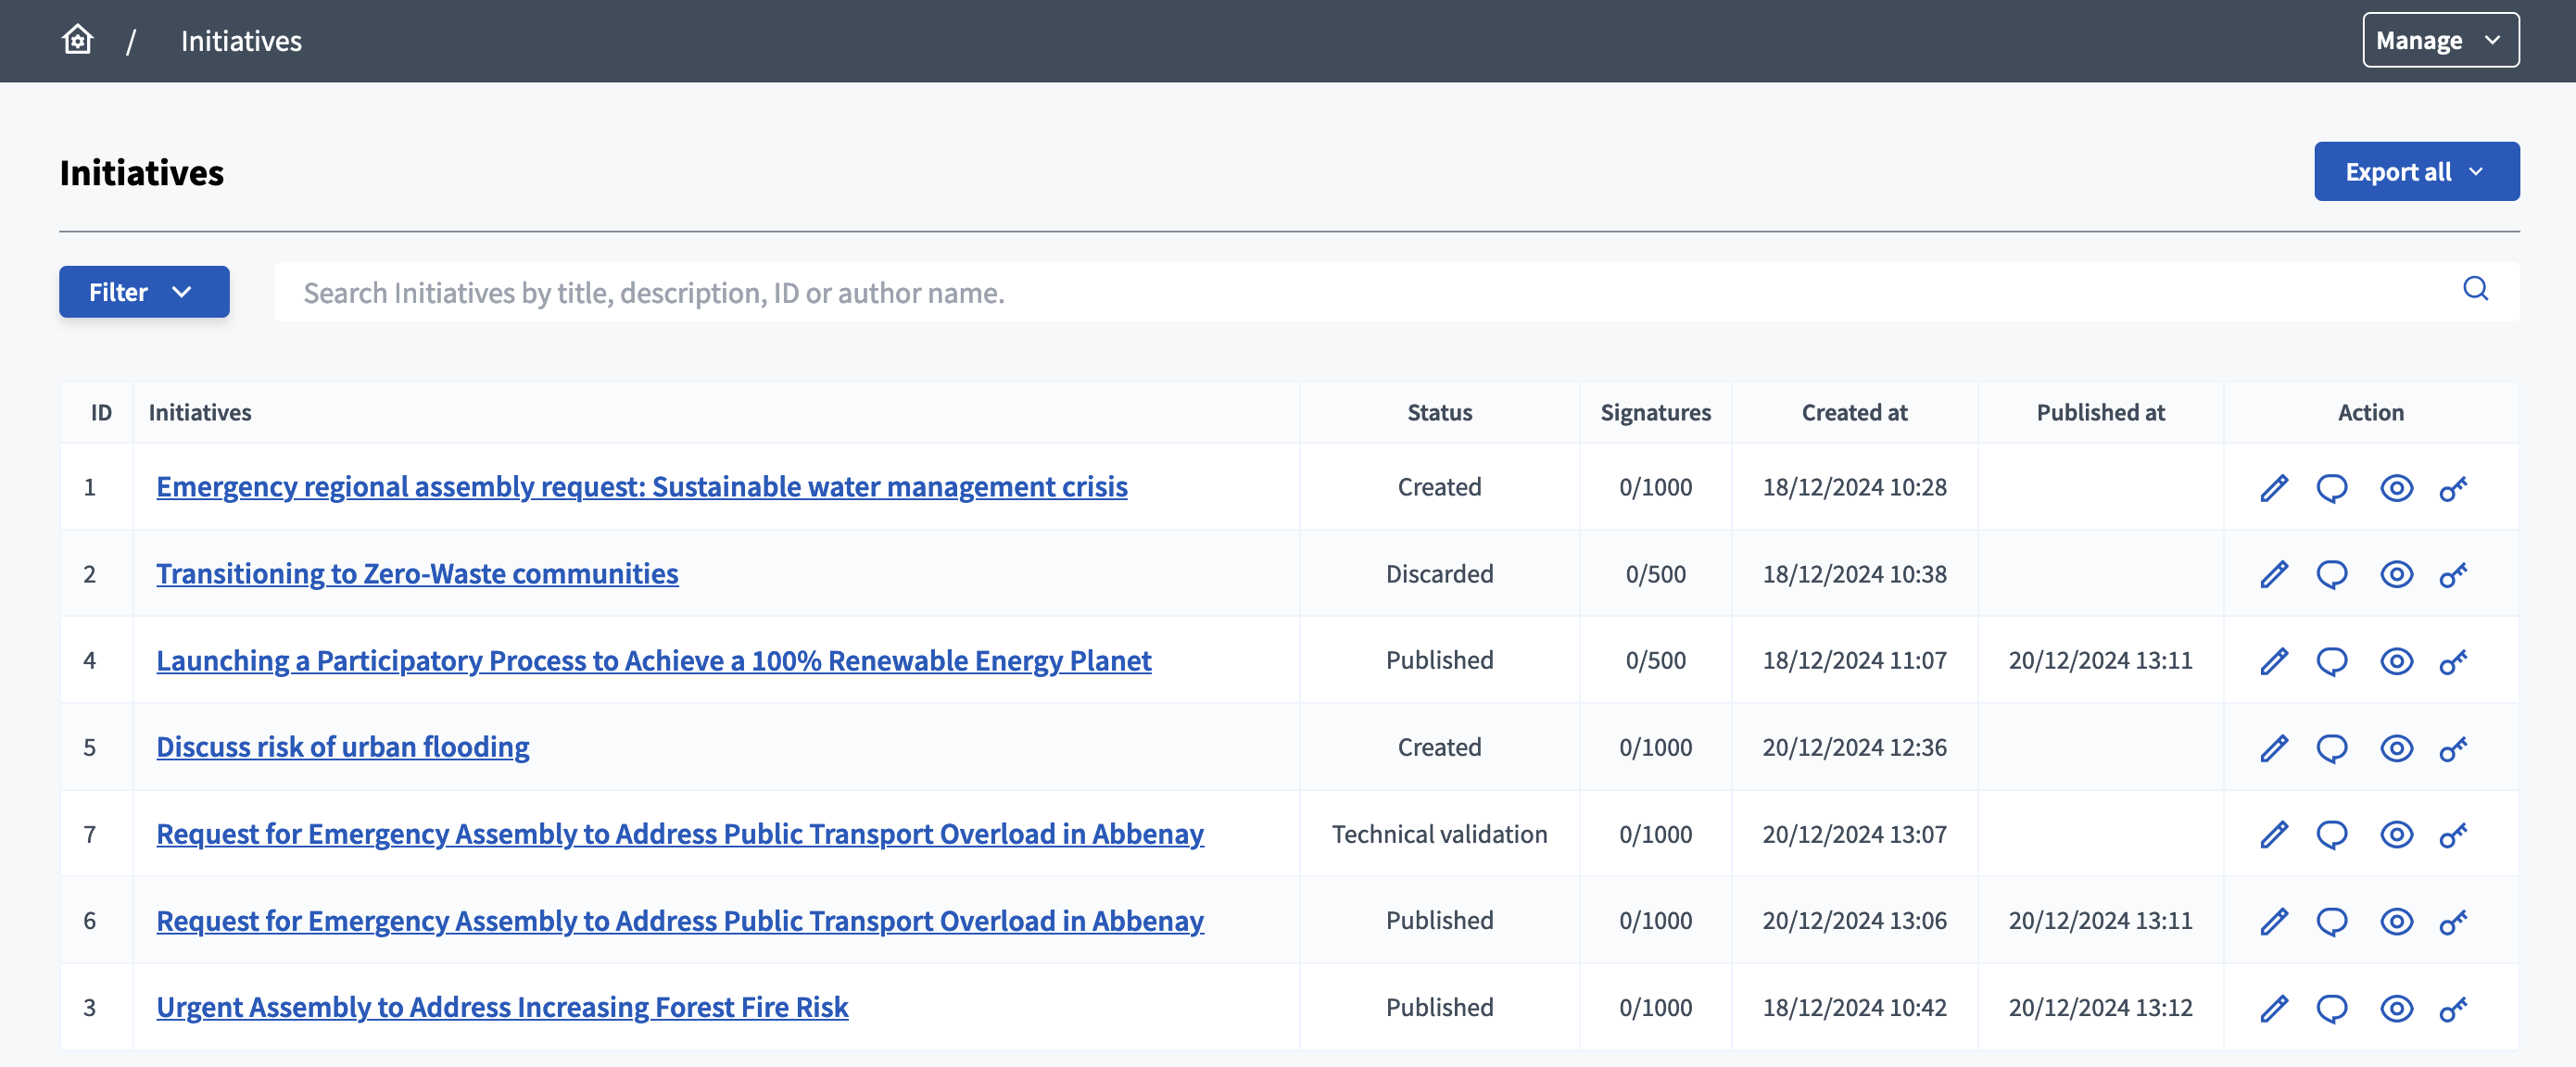
You can find all the processes on this list with:
-
ID: identification number of the initiative.
-
Initiatives: title of the initiative.
-
Signatures: sum of online and in-person signatures.
-
Created at: date of creation of the initiative.
-
Published at: date of publication of the initiative.
You can filter and sort this list by clicking the "Filter" button and the columns headers. You can also search for initiatives by their title in the search bar.

Actions
| Icon | Name | Definition |
|---|---|---|
|
Edit |
To edit the initiative, its attachments, committee members, components, etc. |
|
Answer |
Allows to Answer an initiative. |
|
Preview |
To see how the initiative looks in the frontend to participants. |
|
Permissions |
To edit permissions on this initiative. |
Edit an initiative
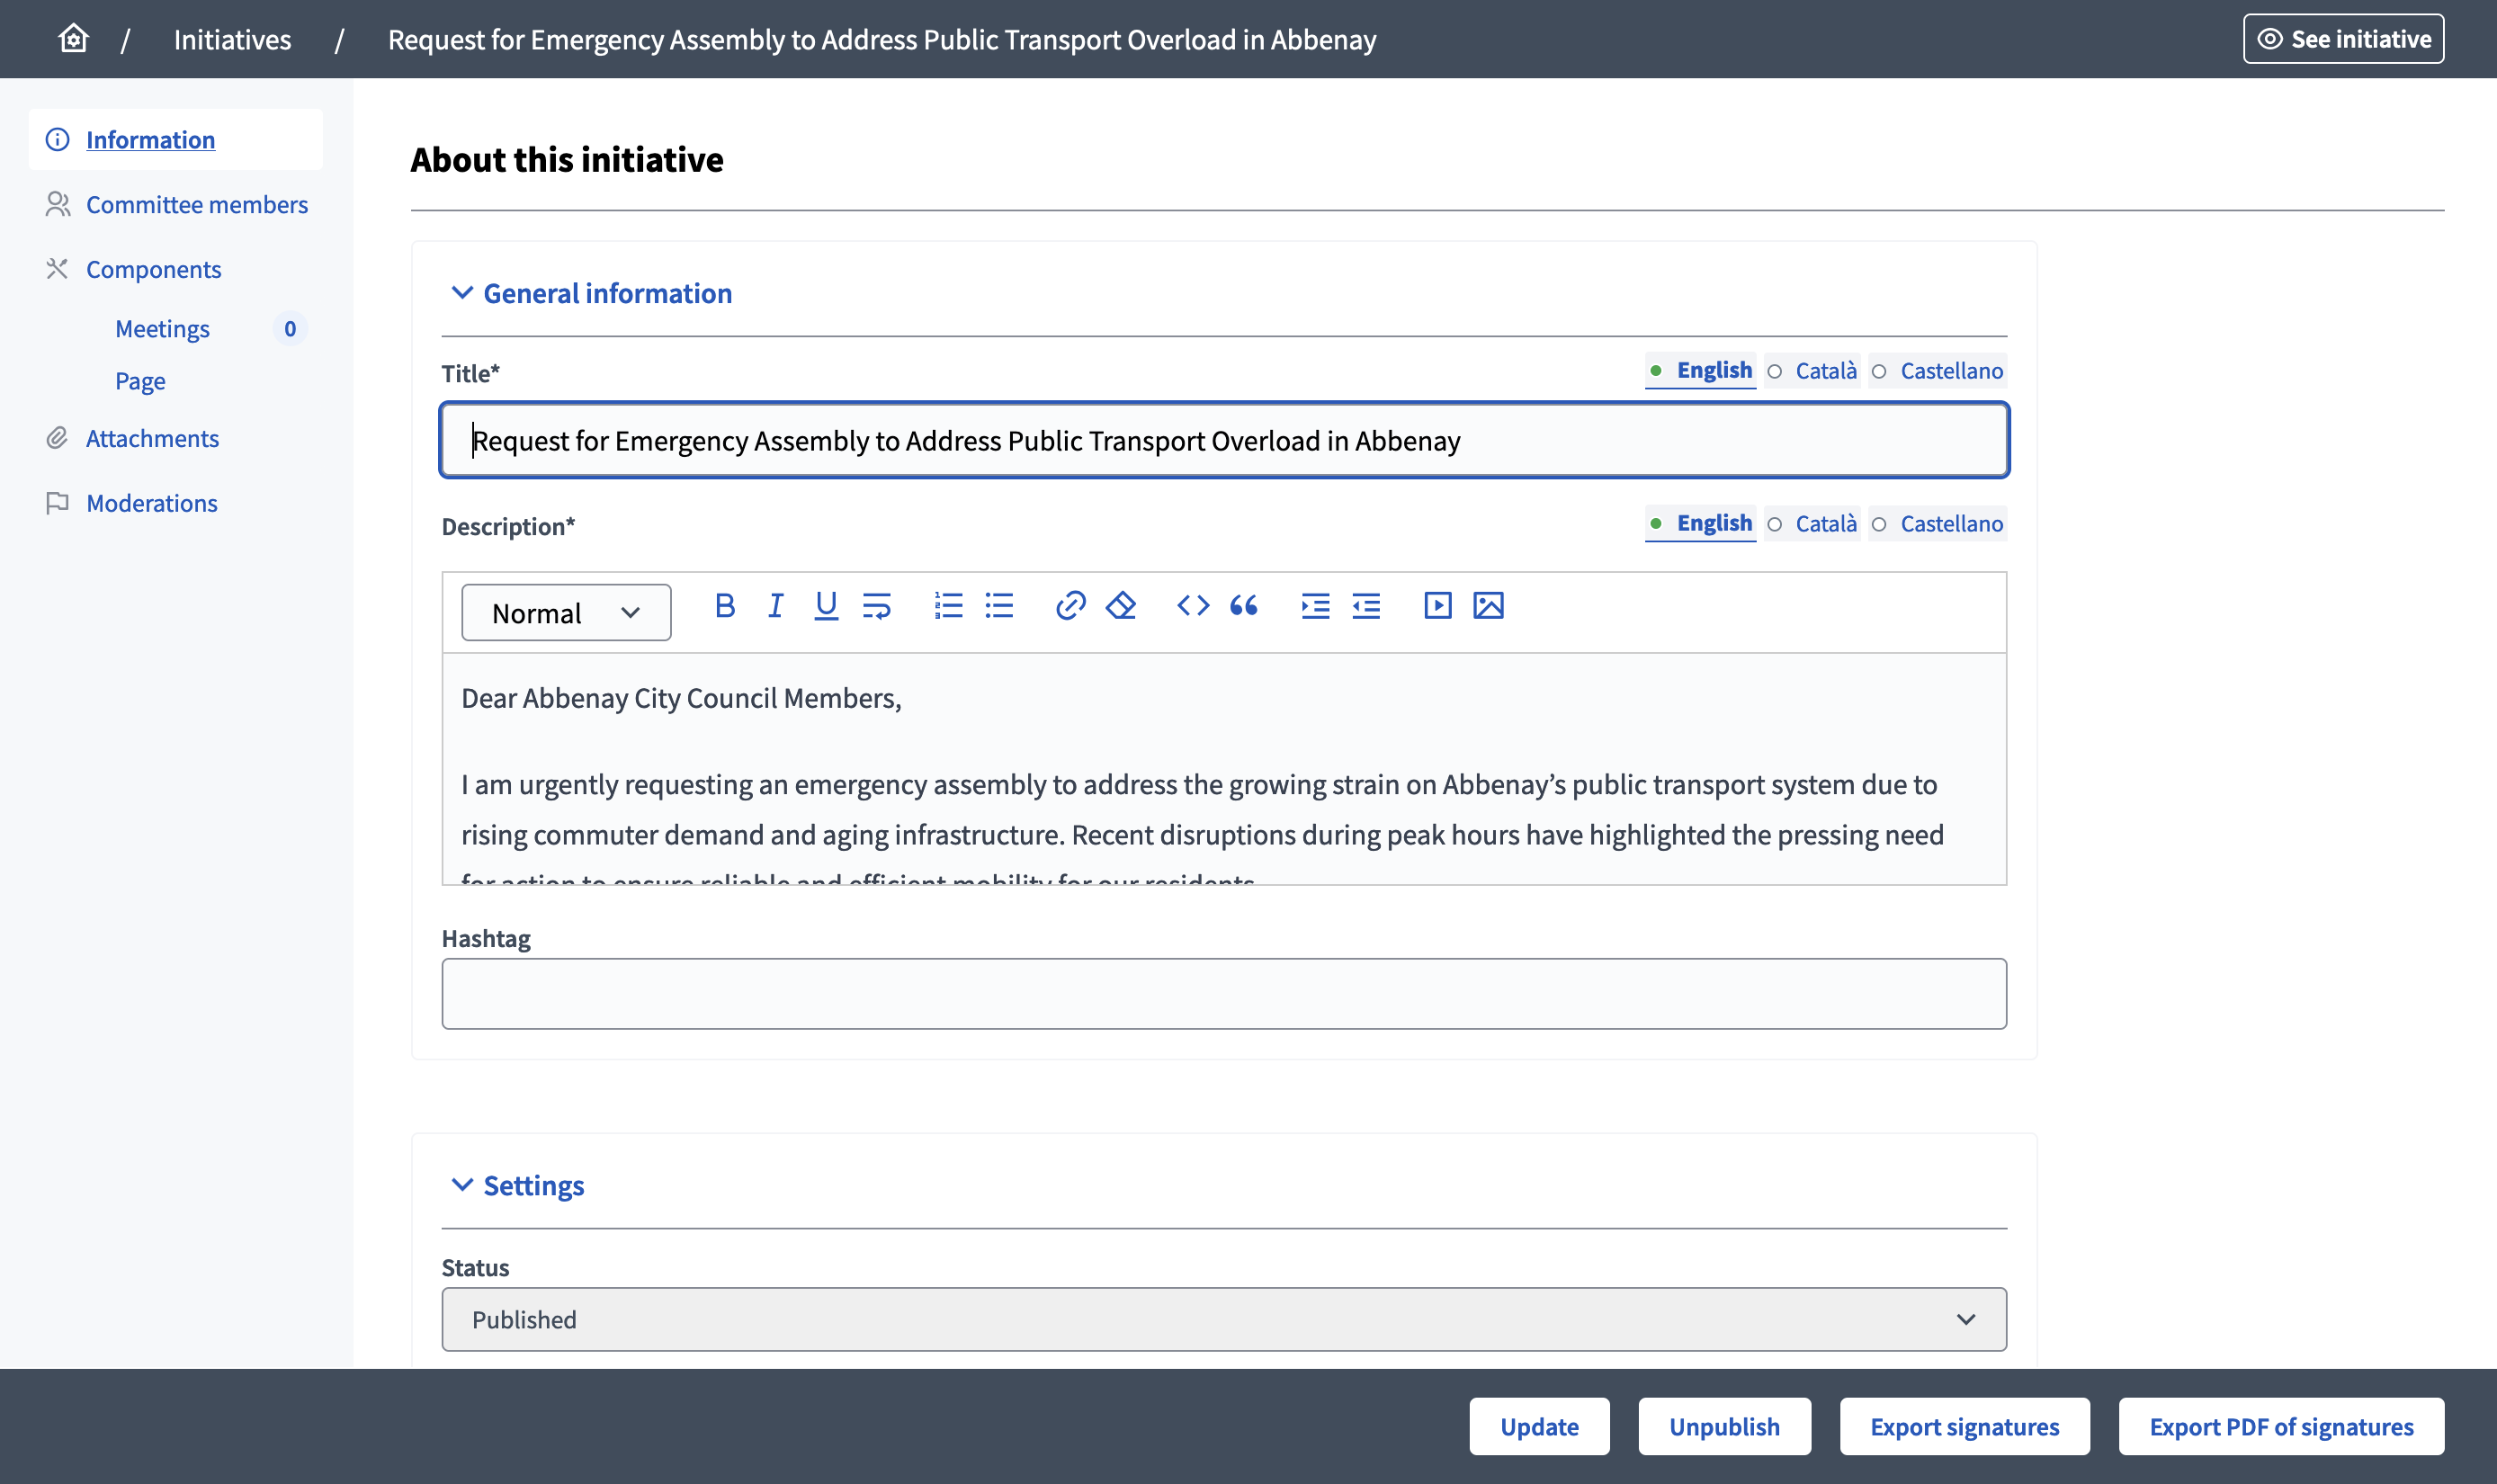
When clicking the "Edit" button or the initiative title on the initiative list in administration, the administrator is redirected to the initiative edit form, and can see that the secondary navigation bar on the left also allows to manage the initiative committee members, its components, attachments and reported content.
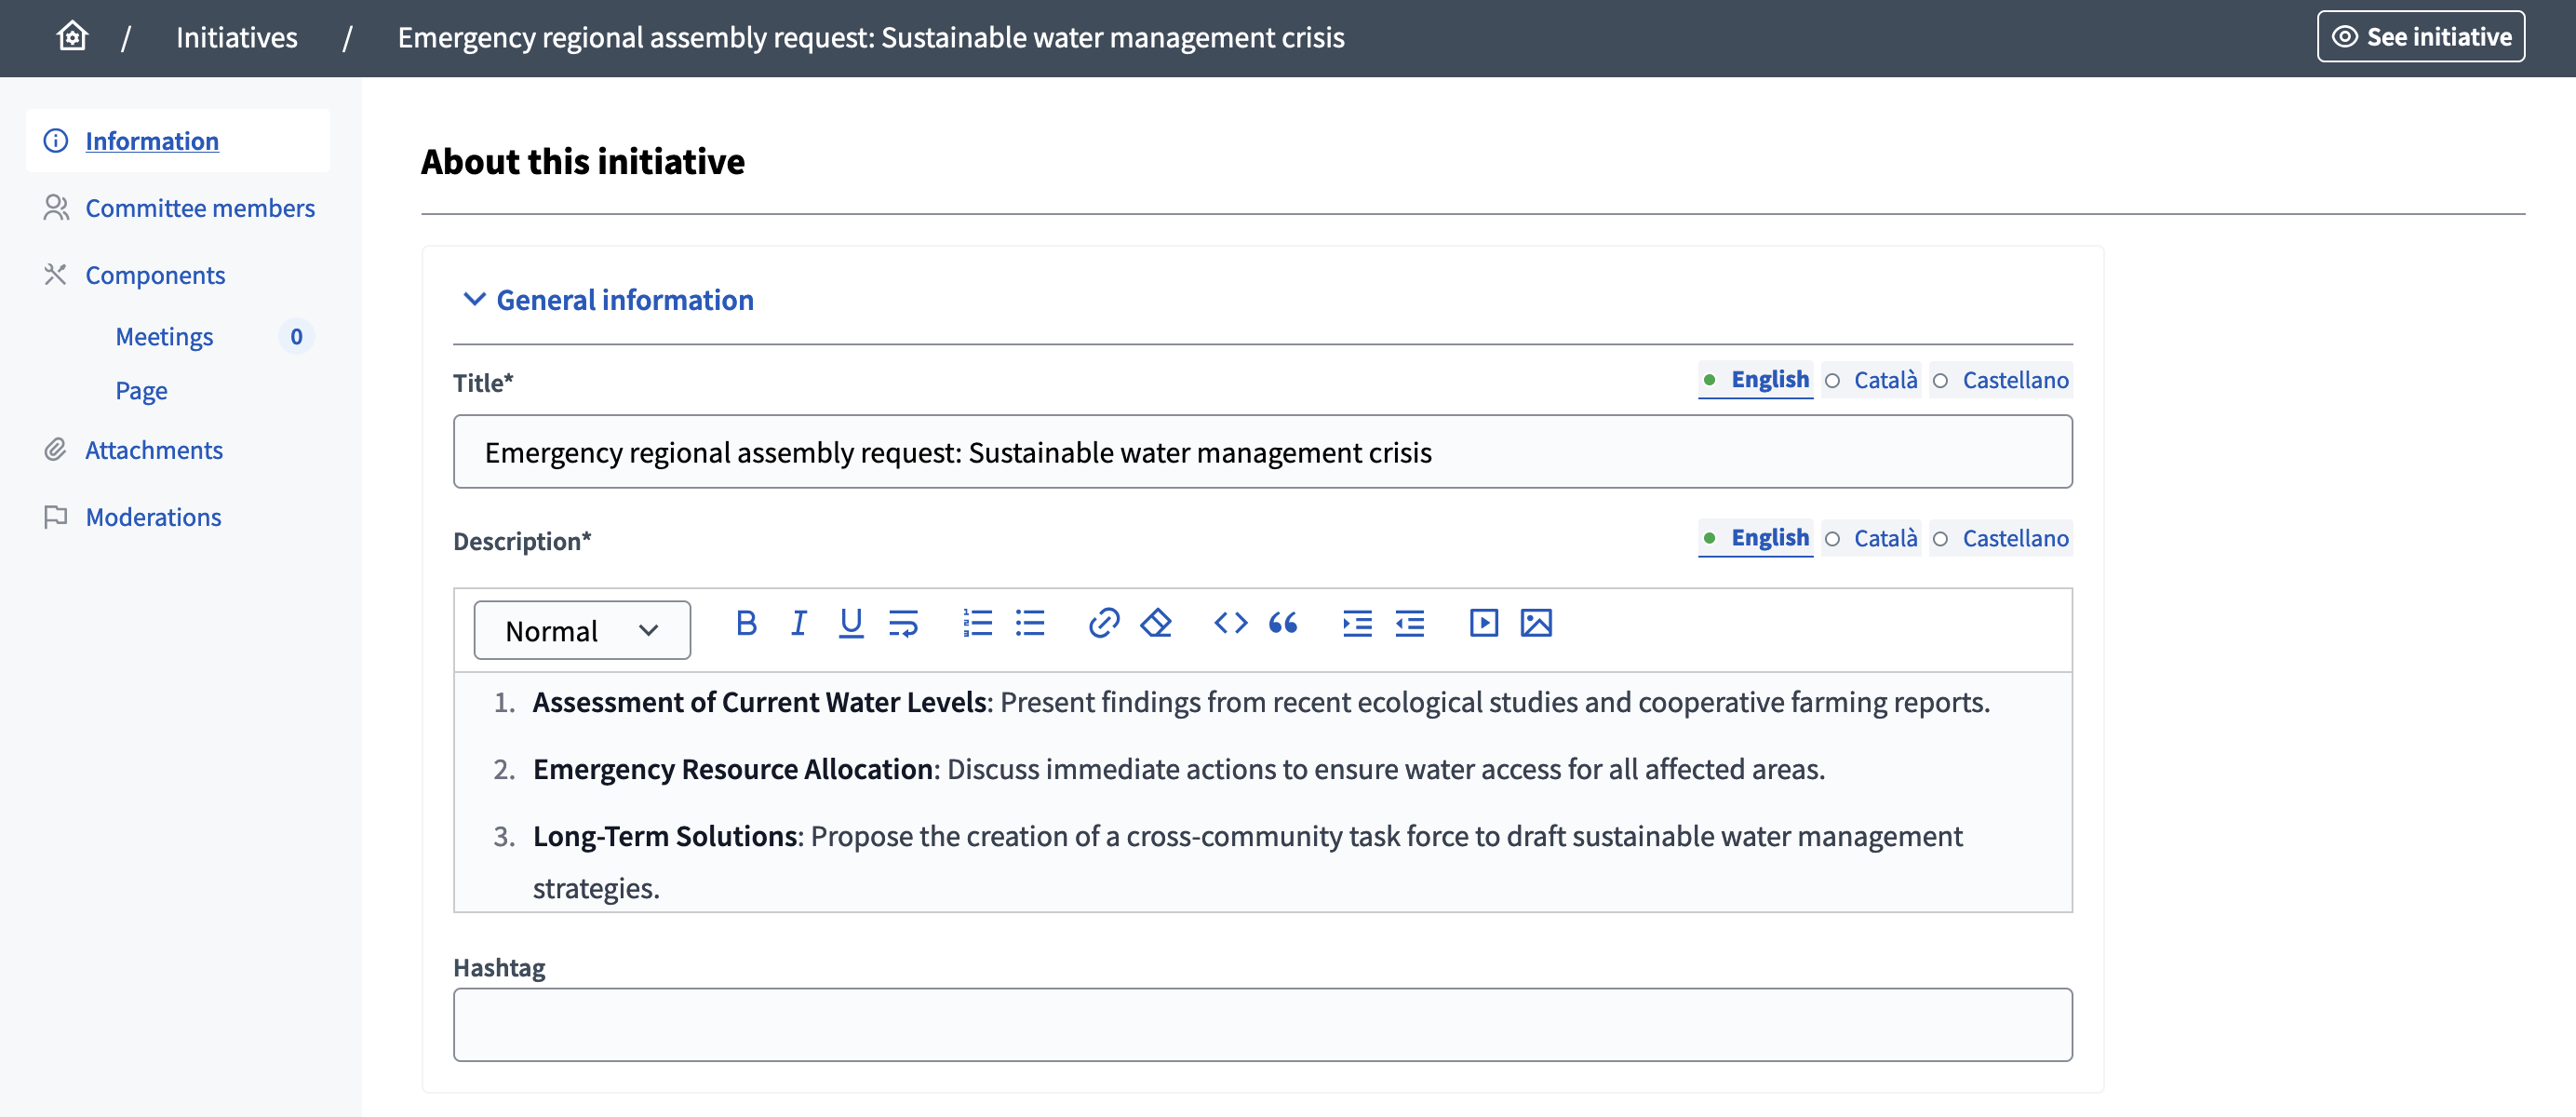
On the edition form, the administrator can review and modify the initiative’s title, description, scope, area, etc. They can also send the initiative to technical validation.
