Blog
Understand the basics
The Blog component allows administrators to post news about a participatory space, which participants can read to get updates.
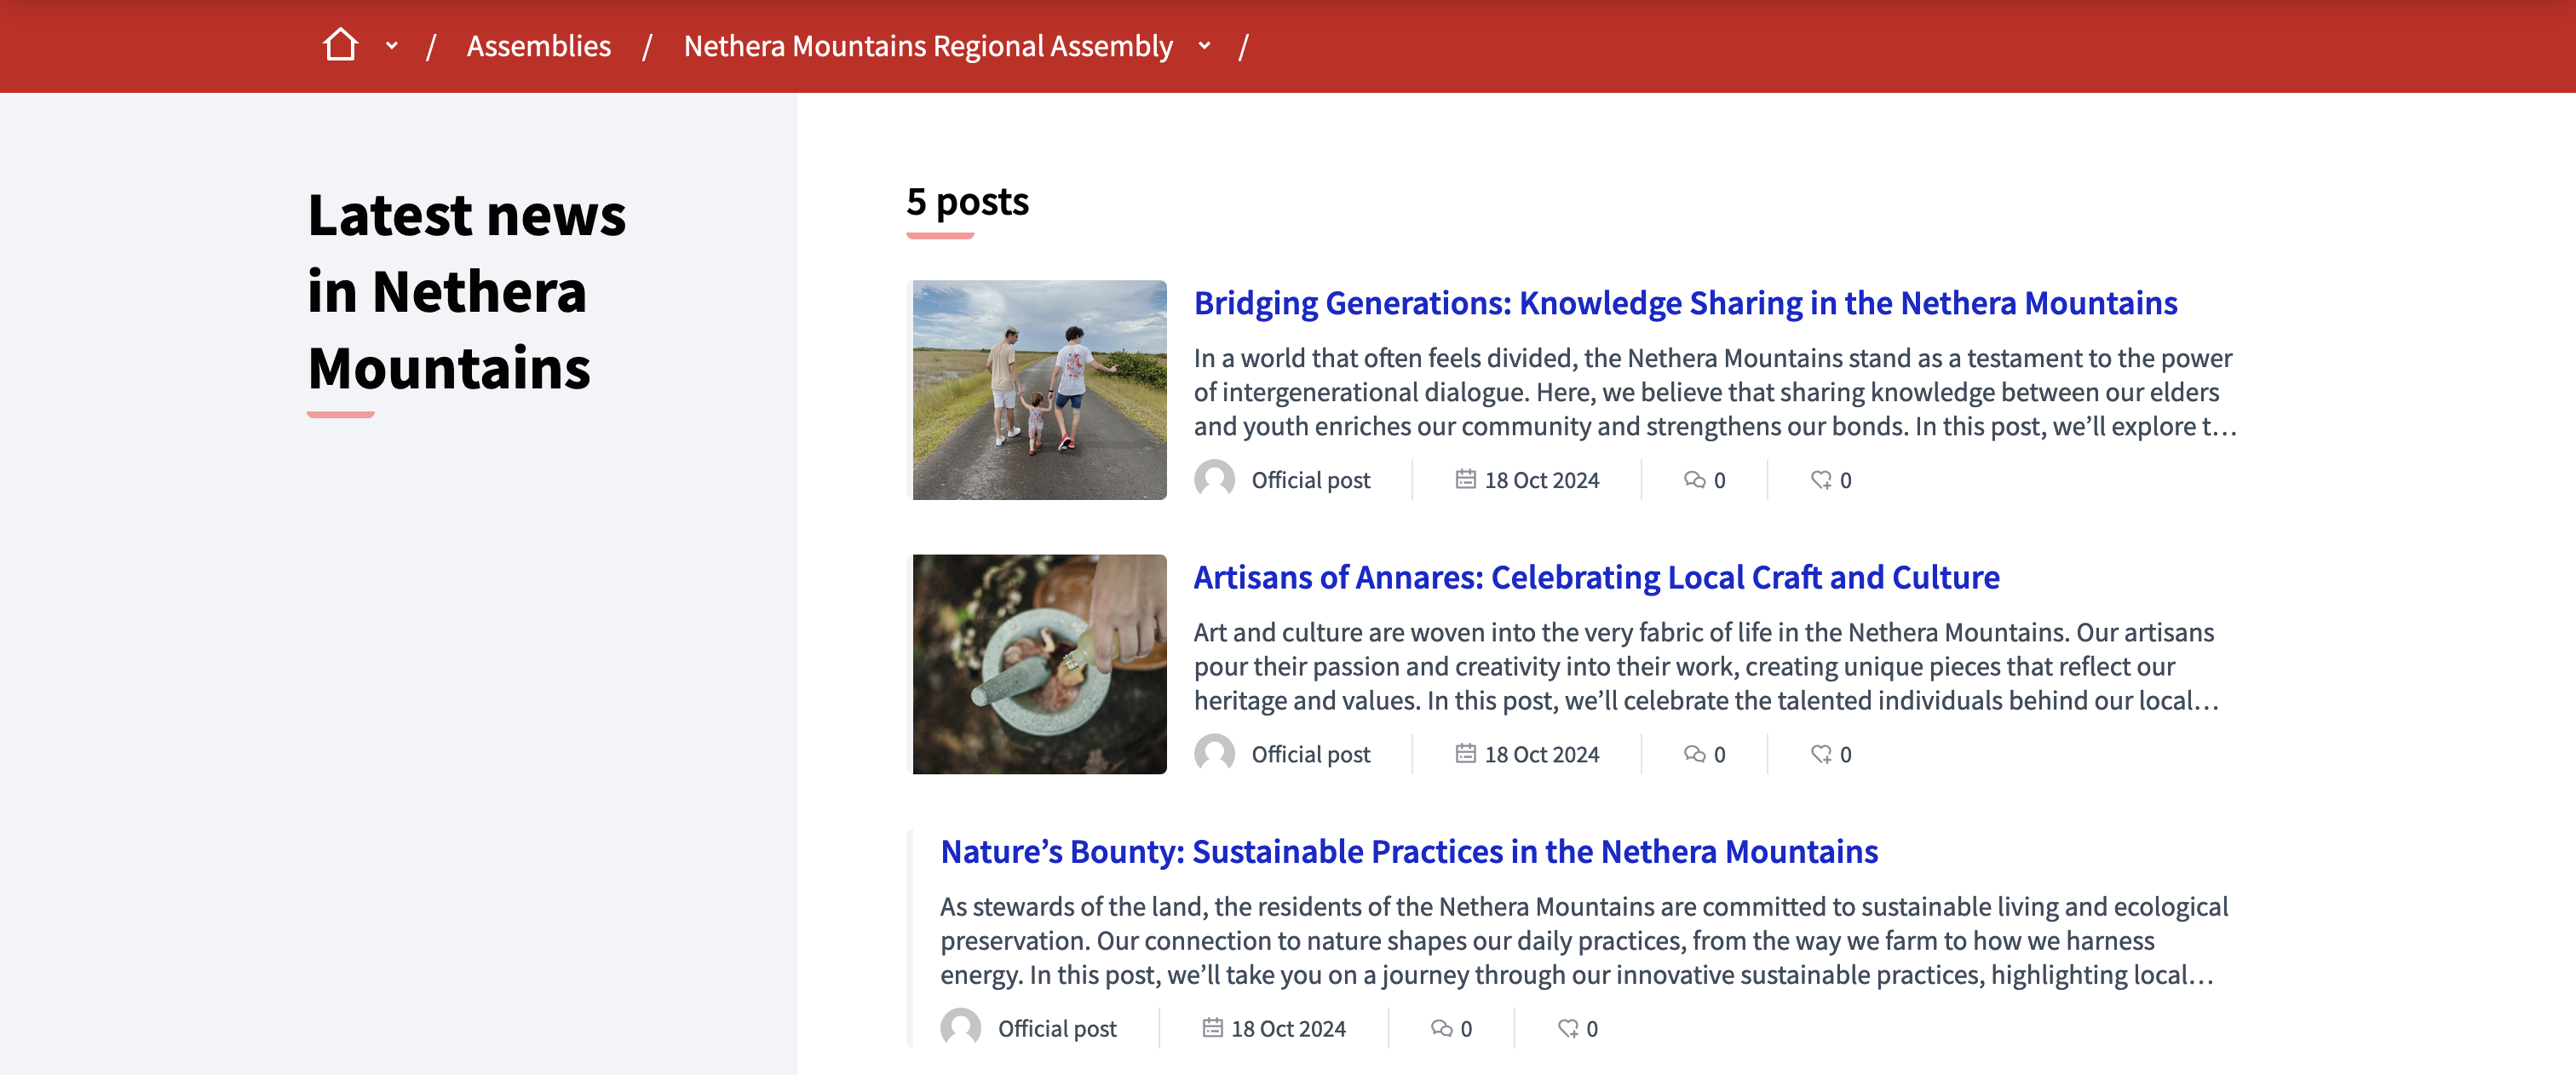
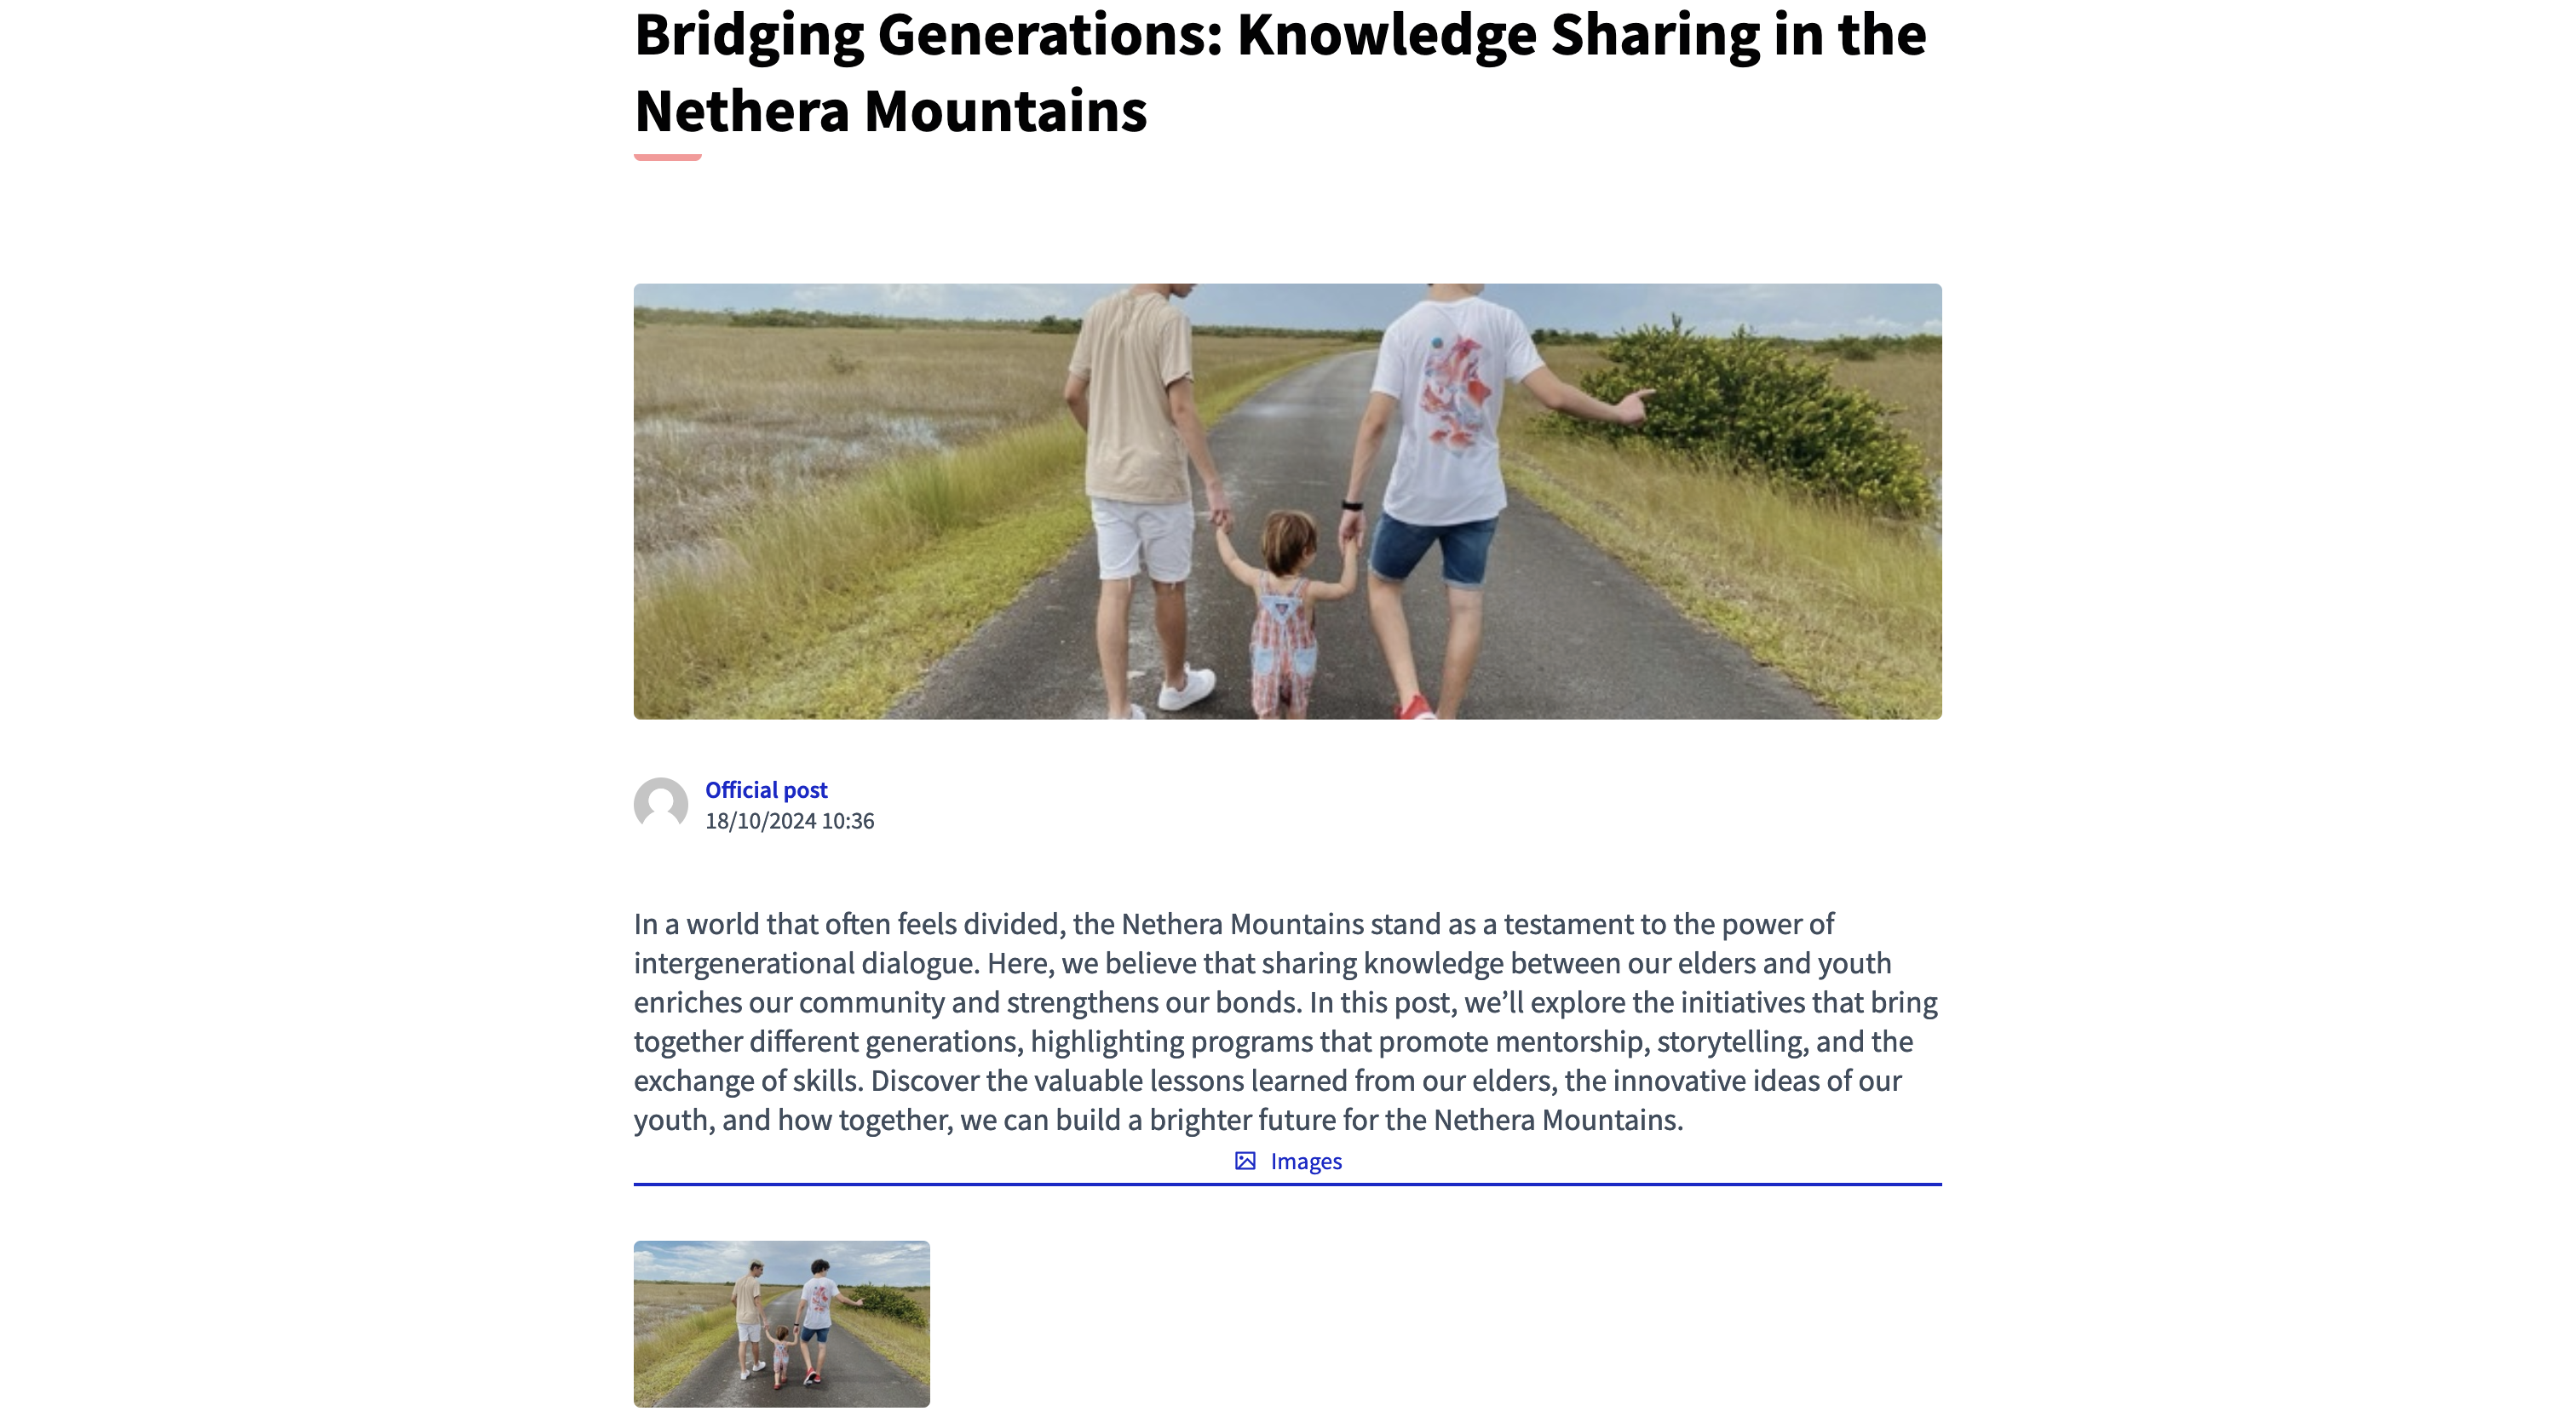
All blog posts are available on the post list, and participants can click each blog post to learn more about what’s new.
Configuración
To configure the Blog component:
To create a Blog component, first go in the participatory space where you want to create it.
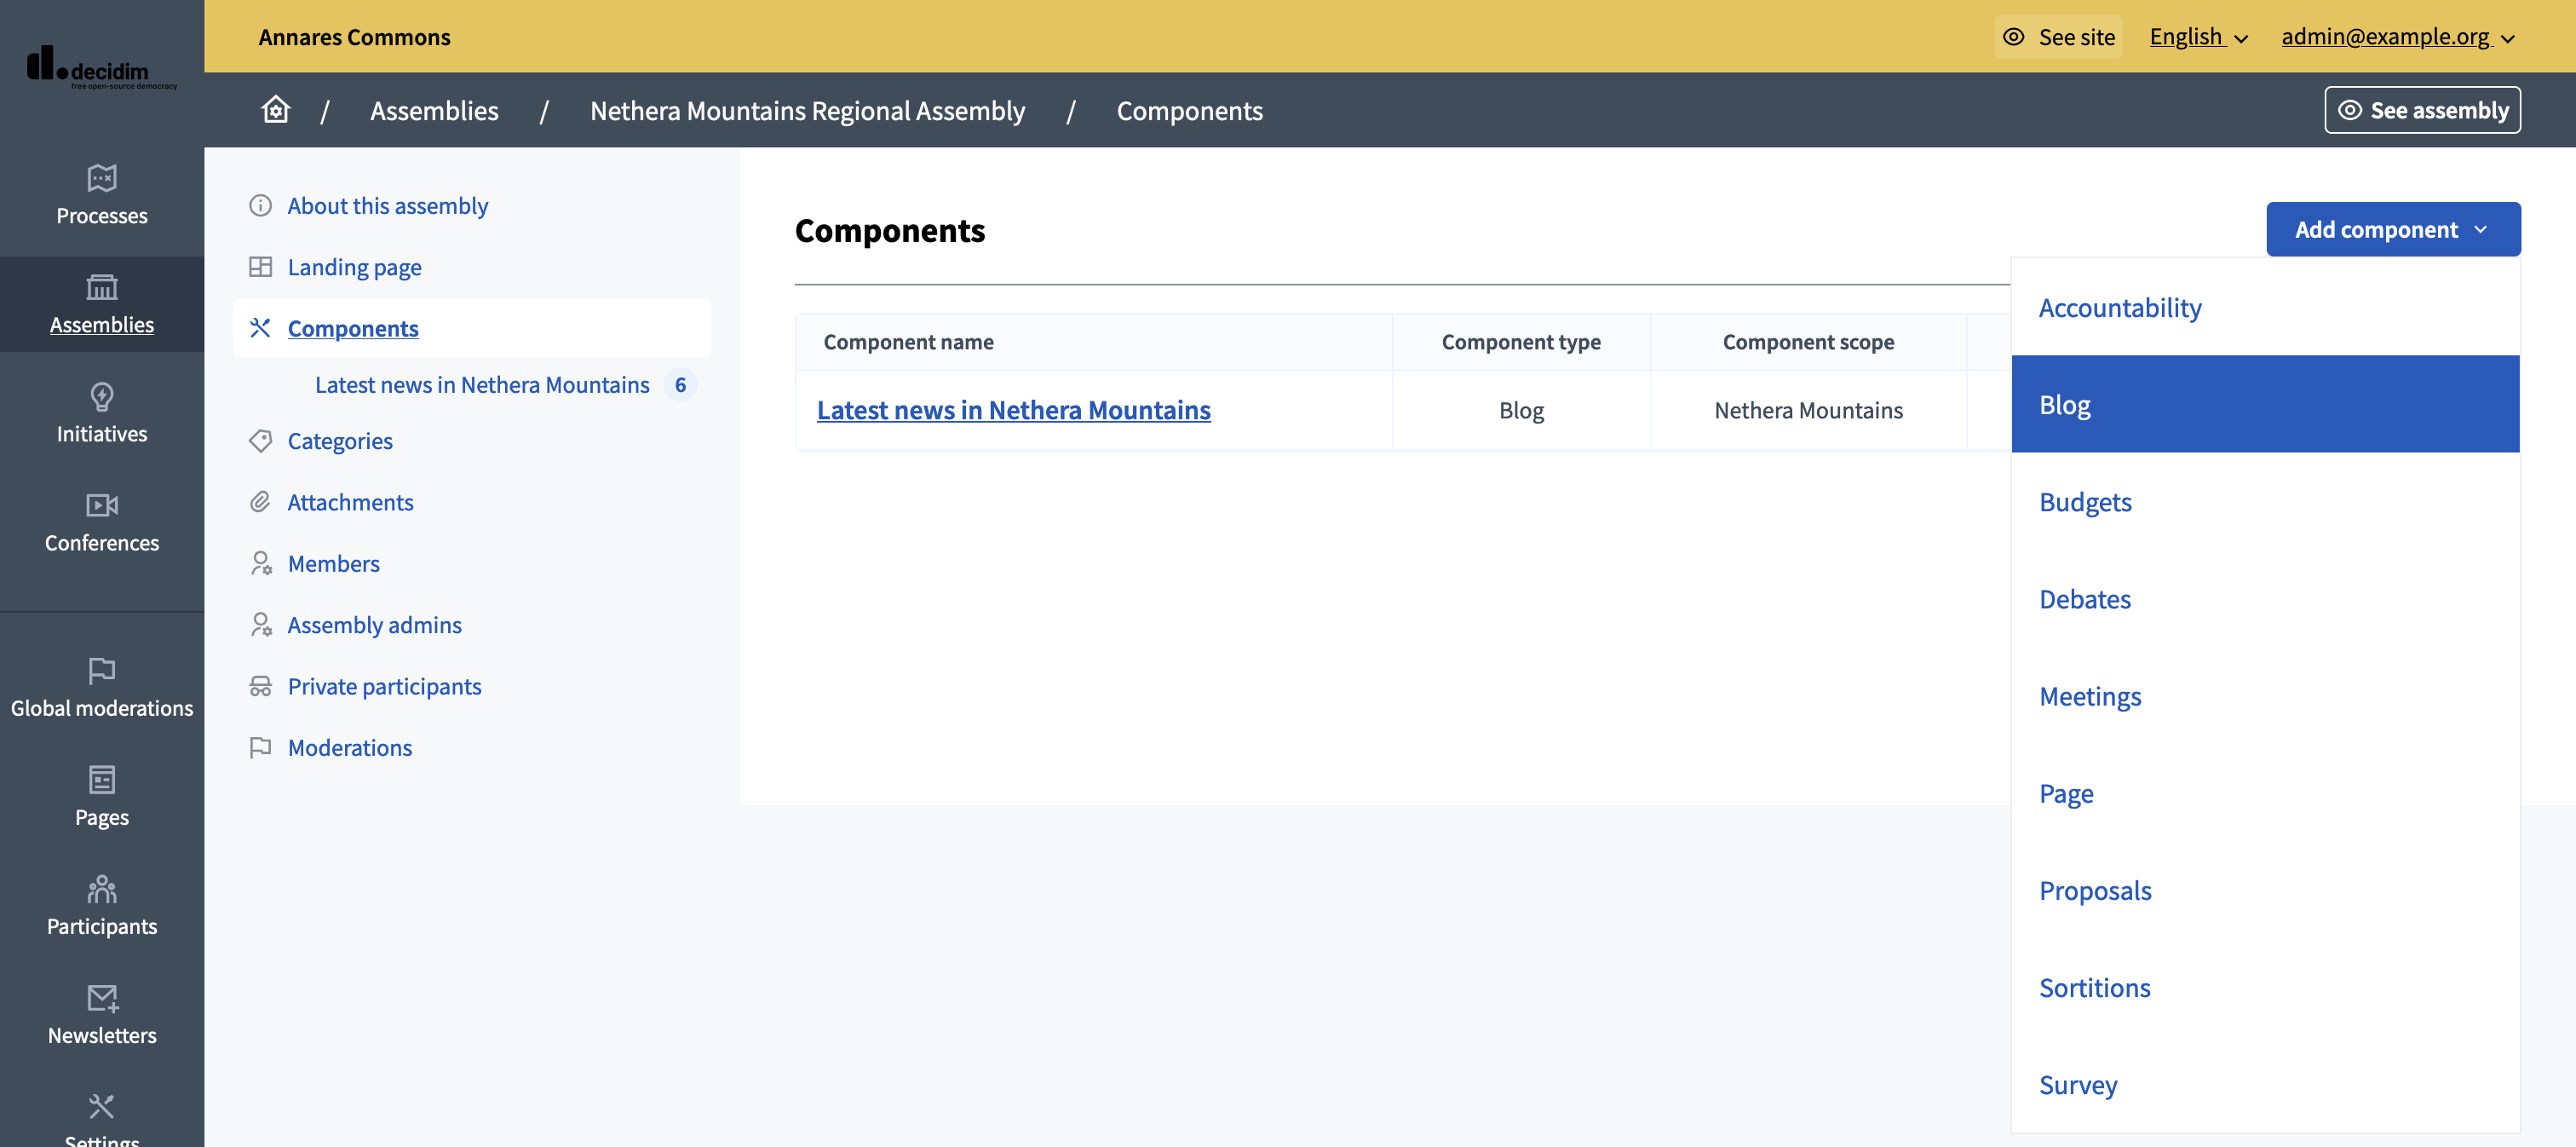
Then:
-
Click on the "Components" item in the secondary menu
-
Click the "Add component" button
-
Click on "Blog"
-
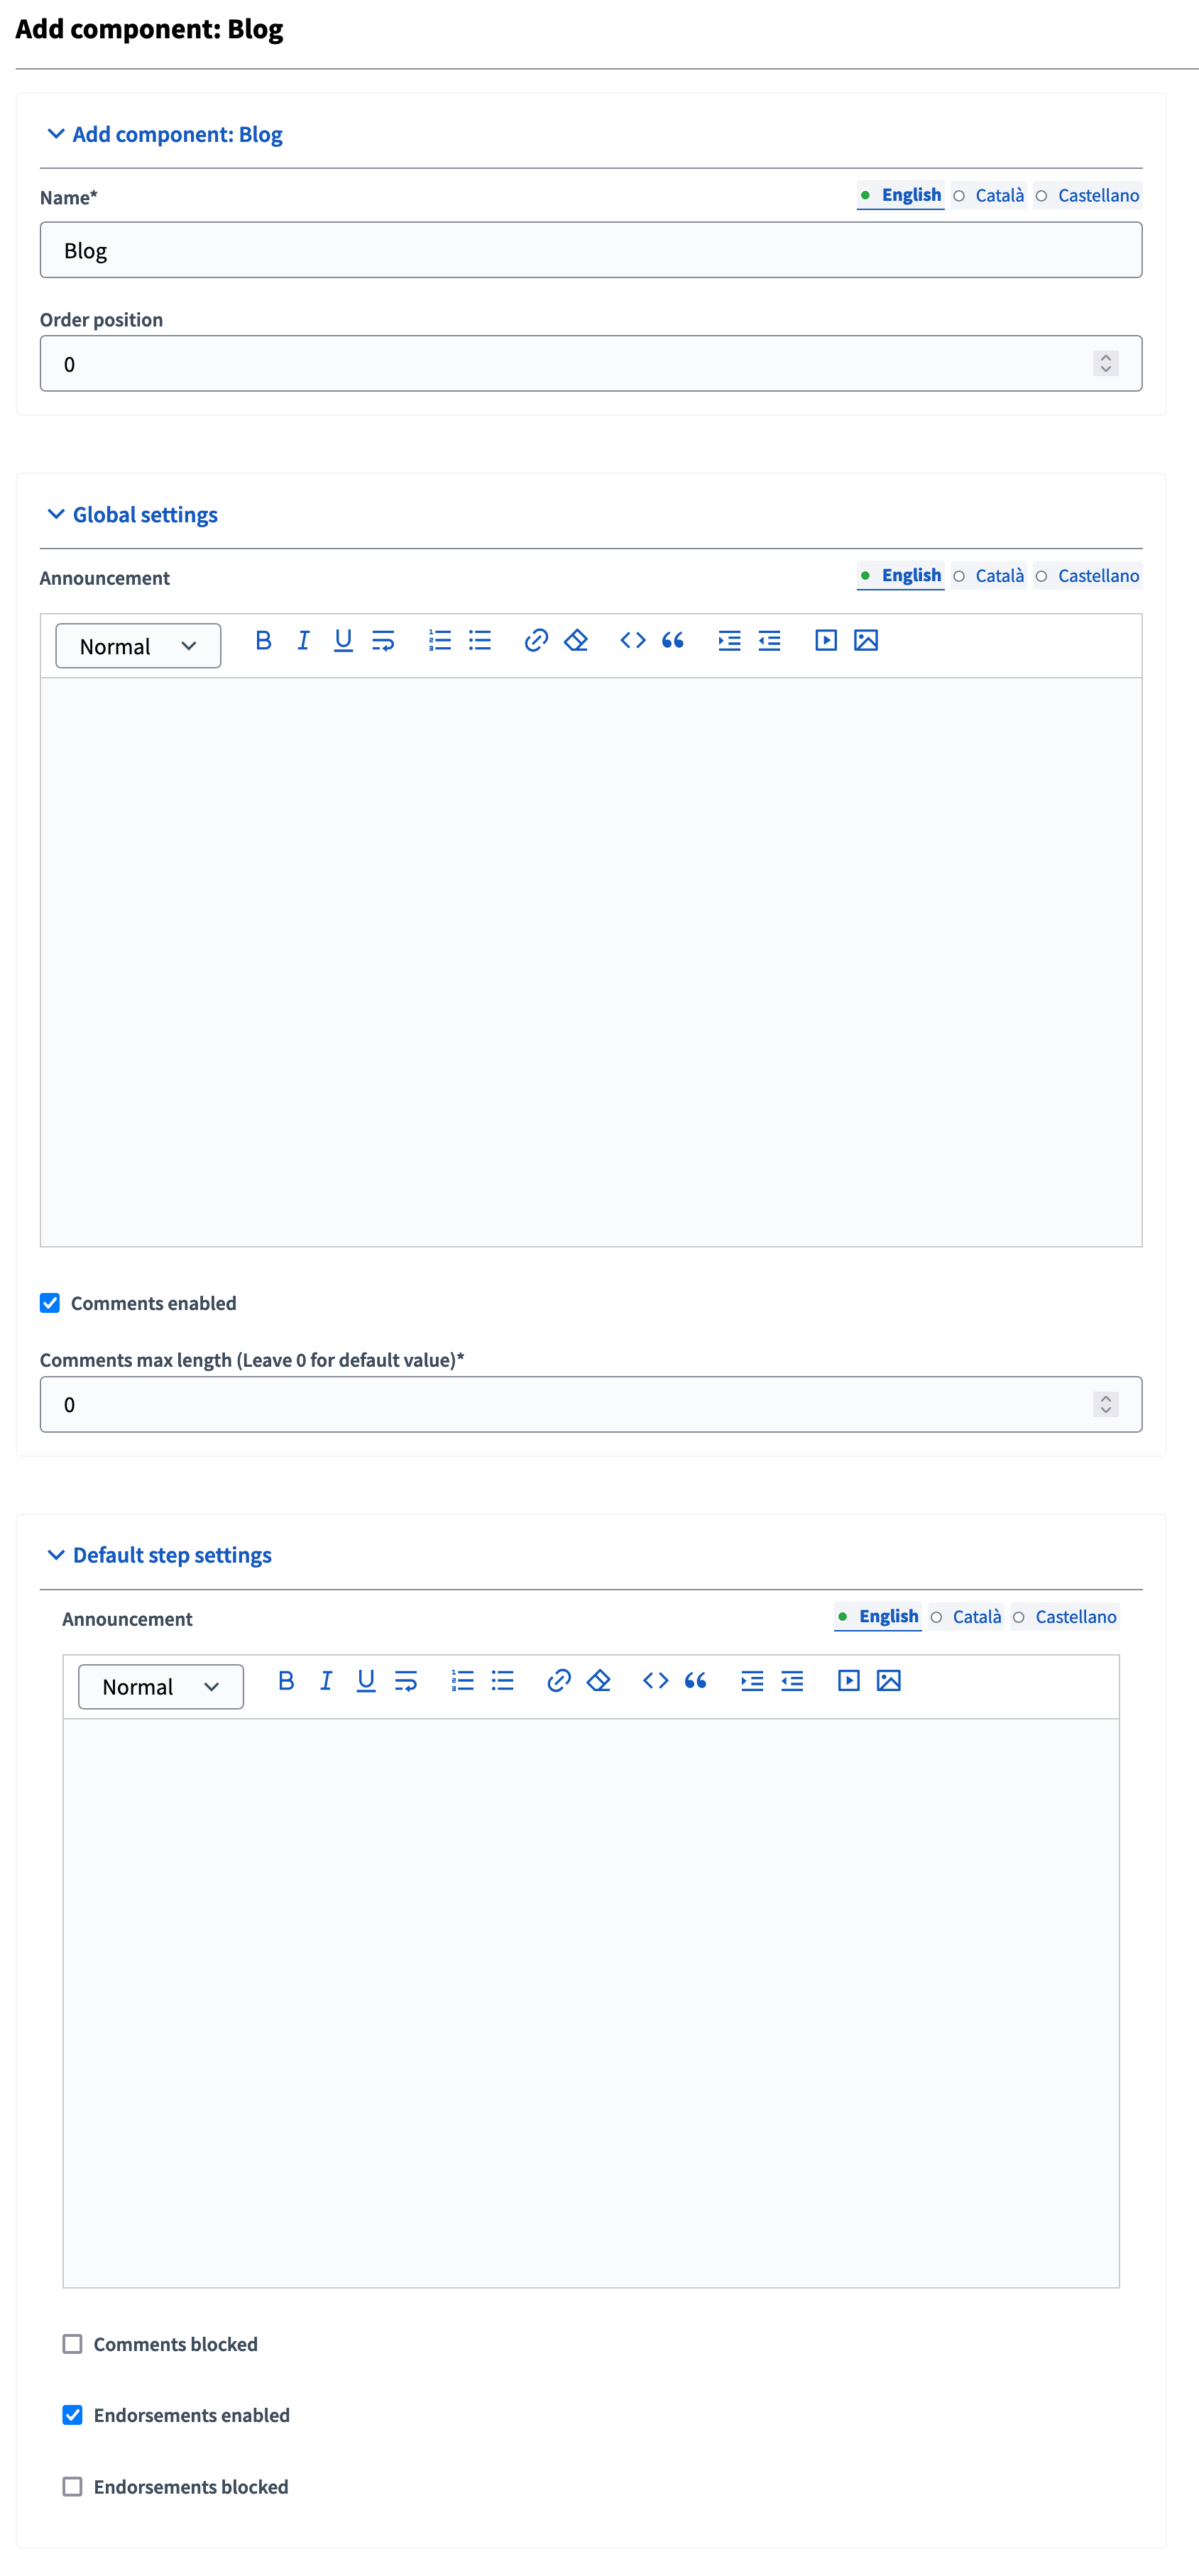
Fill the component creation form
You can still update this form and the configuration after creating the component, by clicking the
![]() icon on the components list.
icon on the components list.
| Campo | Tipo | Descripción |
|---|---|---|
Nombre |
Requerido |
What is the title of this component. For instance, "Blogs" |
Posición del pedido |
Opcional |
Add component Which order will it have in relation to the other blogs. Tener un número más bajo significa una prioridad mayor. |
| Campo | Tipo | Descripción |
|---|---|---|
Anuncio |
Opcional |
A general announcement that’ll be visible on the general blogs landing page. |
Comentarios habilitados |
Opcional |
If you want participants to be able to comment on the blog posts. |
Longitud máxima de los comentarios |
Opcional |
The characters limit that participants have when making comments. Deja 0 para el valor predeterminado. |
| Campo | Tipo | Descripción |
|---|---|---|
Anuncio |
Opcional |
A general announcement that’ll be visible on the general blog landing page. |
Comentarios bloqueados |
Opcional |
Si desea habilitar la creación de comentarios para esta fase. |
Aprobaciones habilitadas |
Opcional |
Si desea habilitar los respaldos para esta fase. |
Aprobaciones bloqueadas |
Opcional |
Whether you want to disable adding new endorsements for this phase. |
Gestionar mensajes
To start creating and managing posts, click on the component title in the navigation bar or on the component list, or click on the
![]() icon on the components list.
icon on the components list.
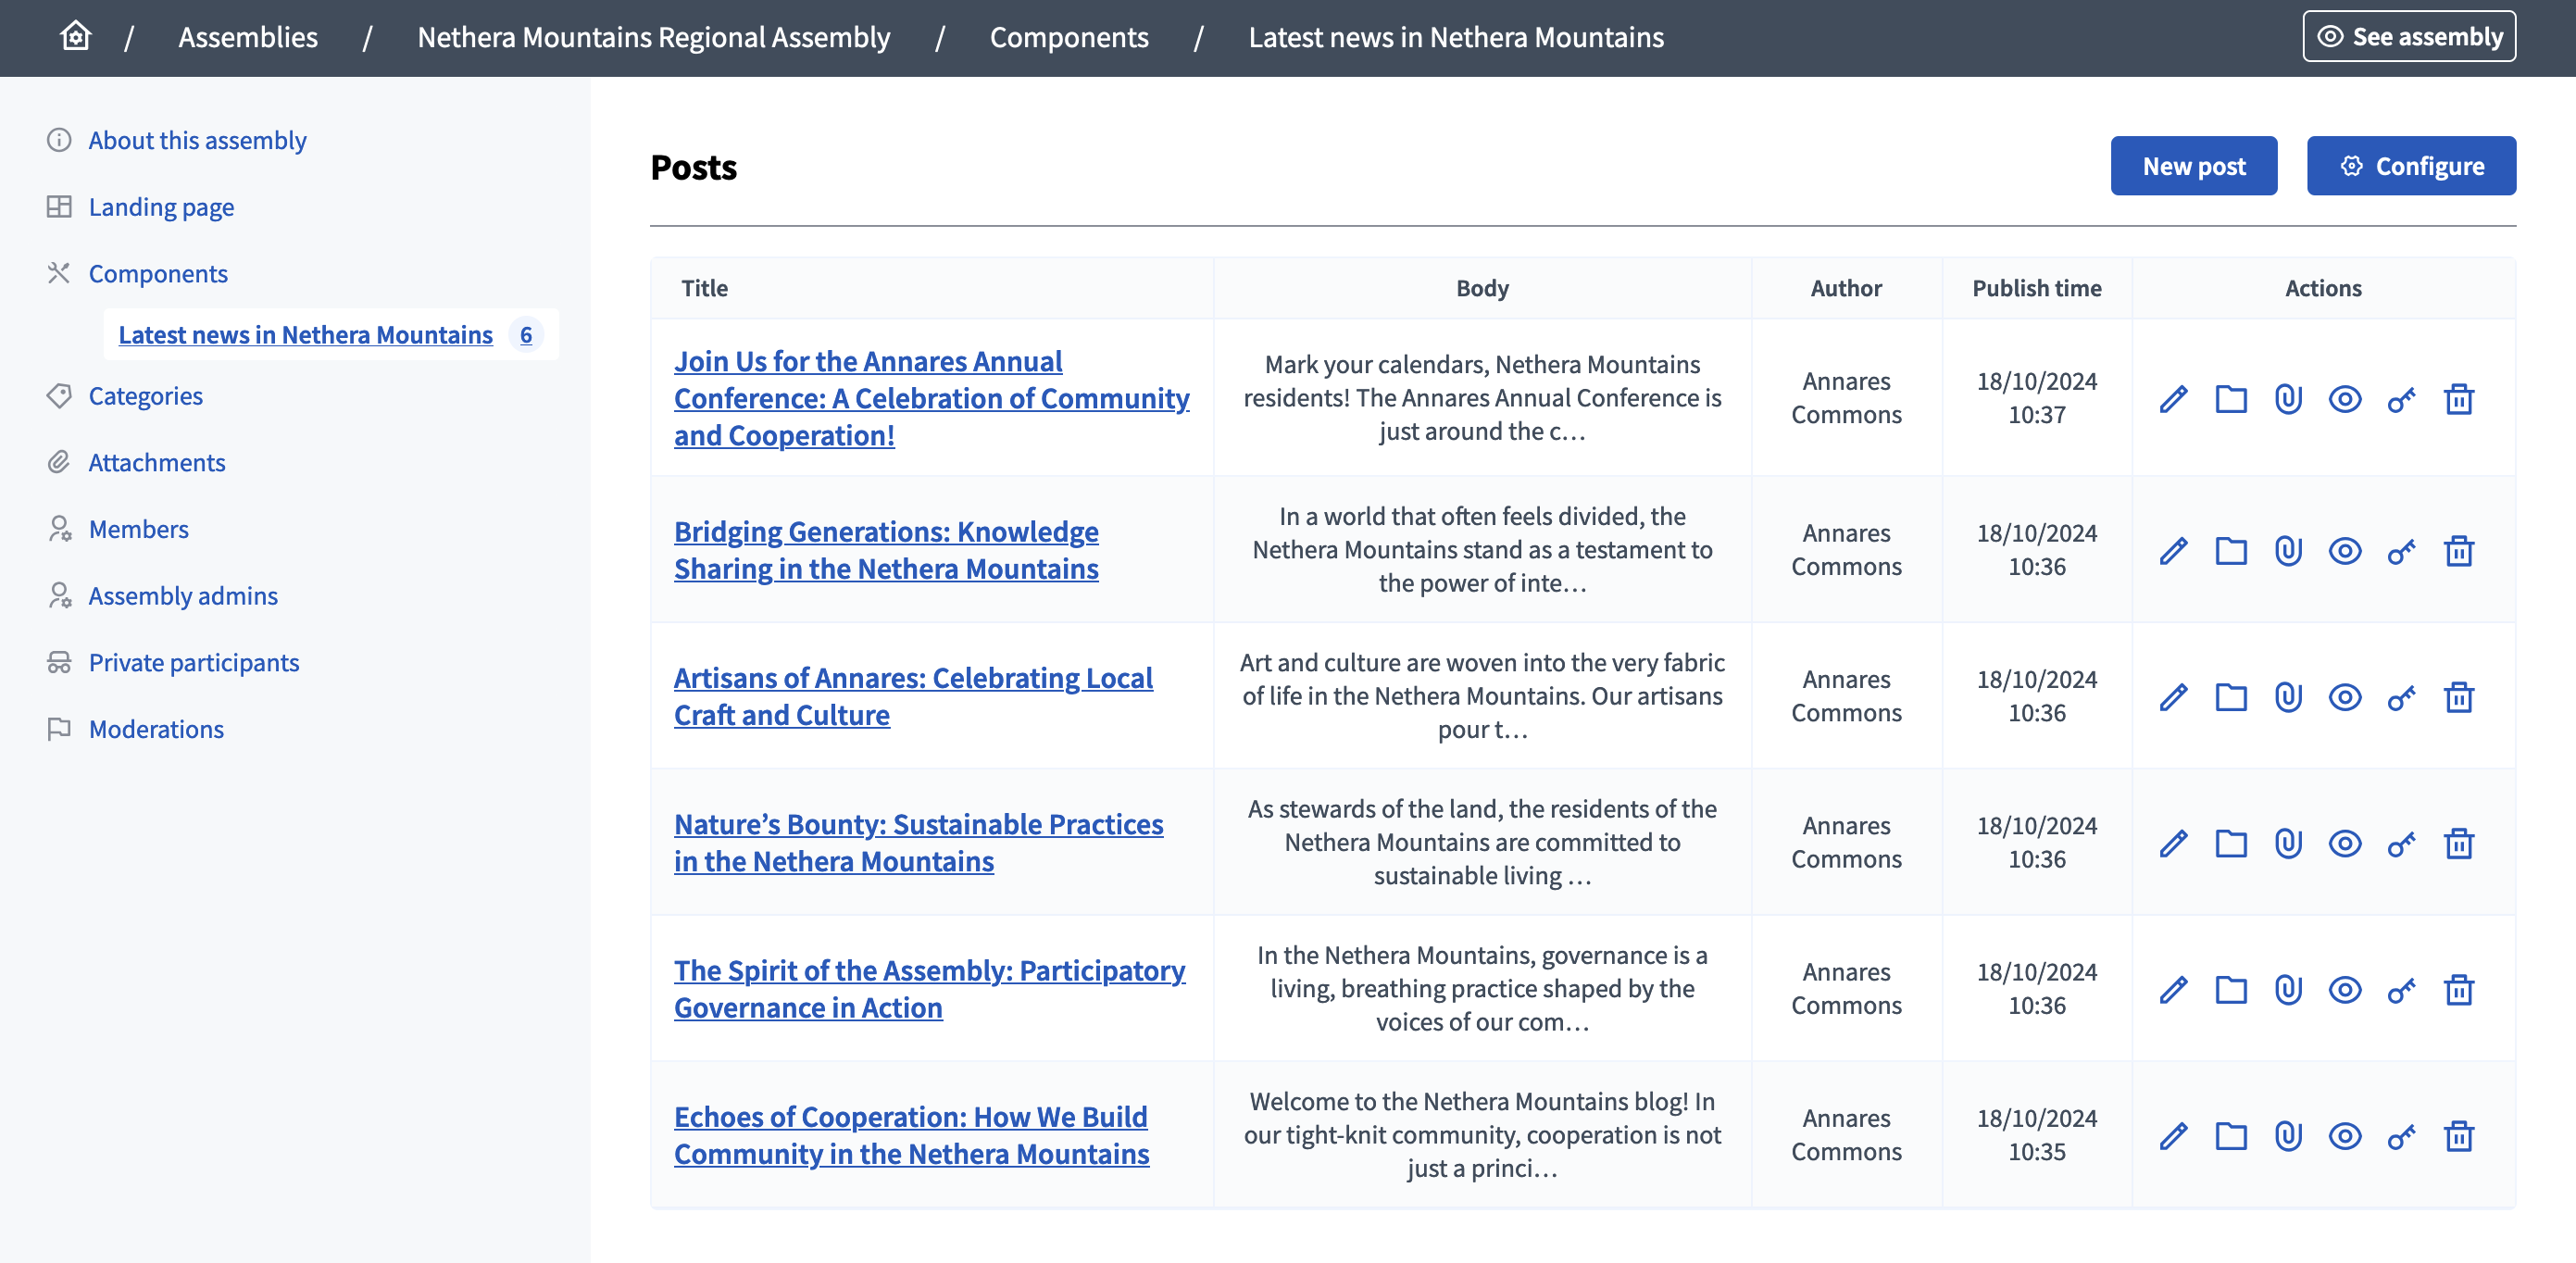
Create post as
To create a post, click the "New post" button on the top right of the page.
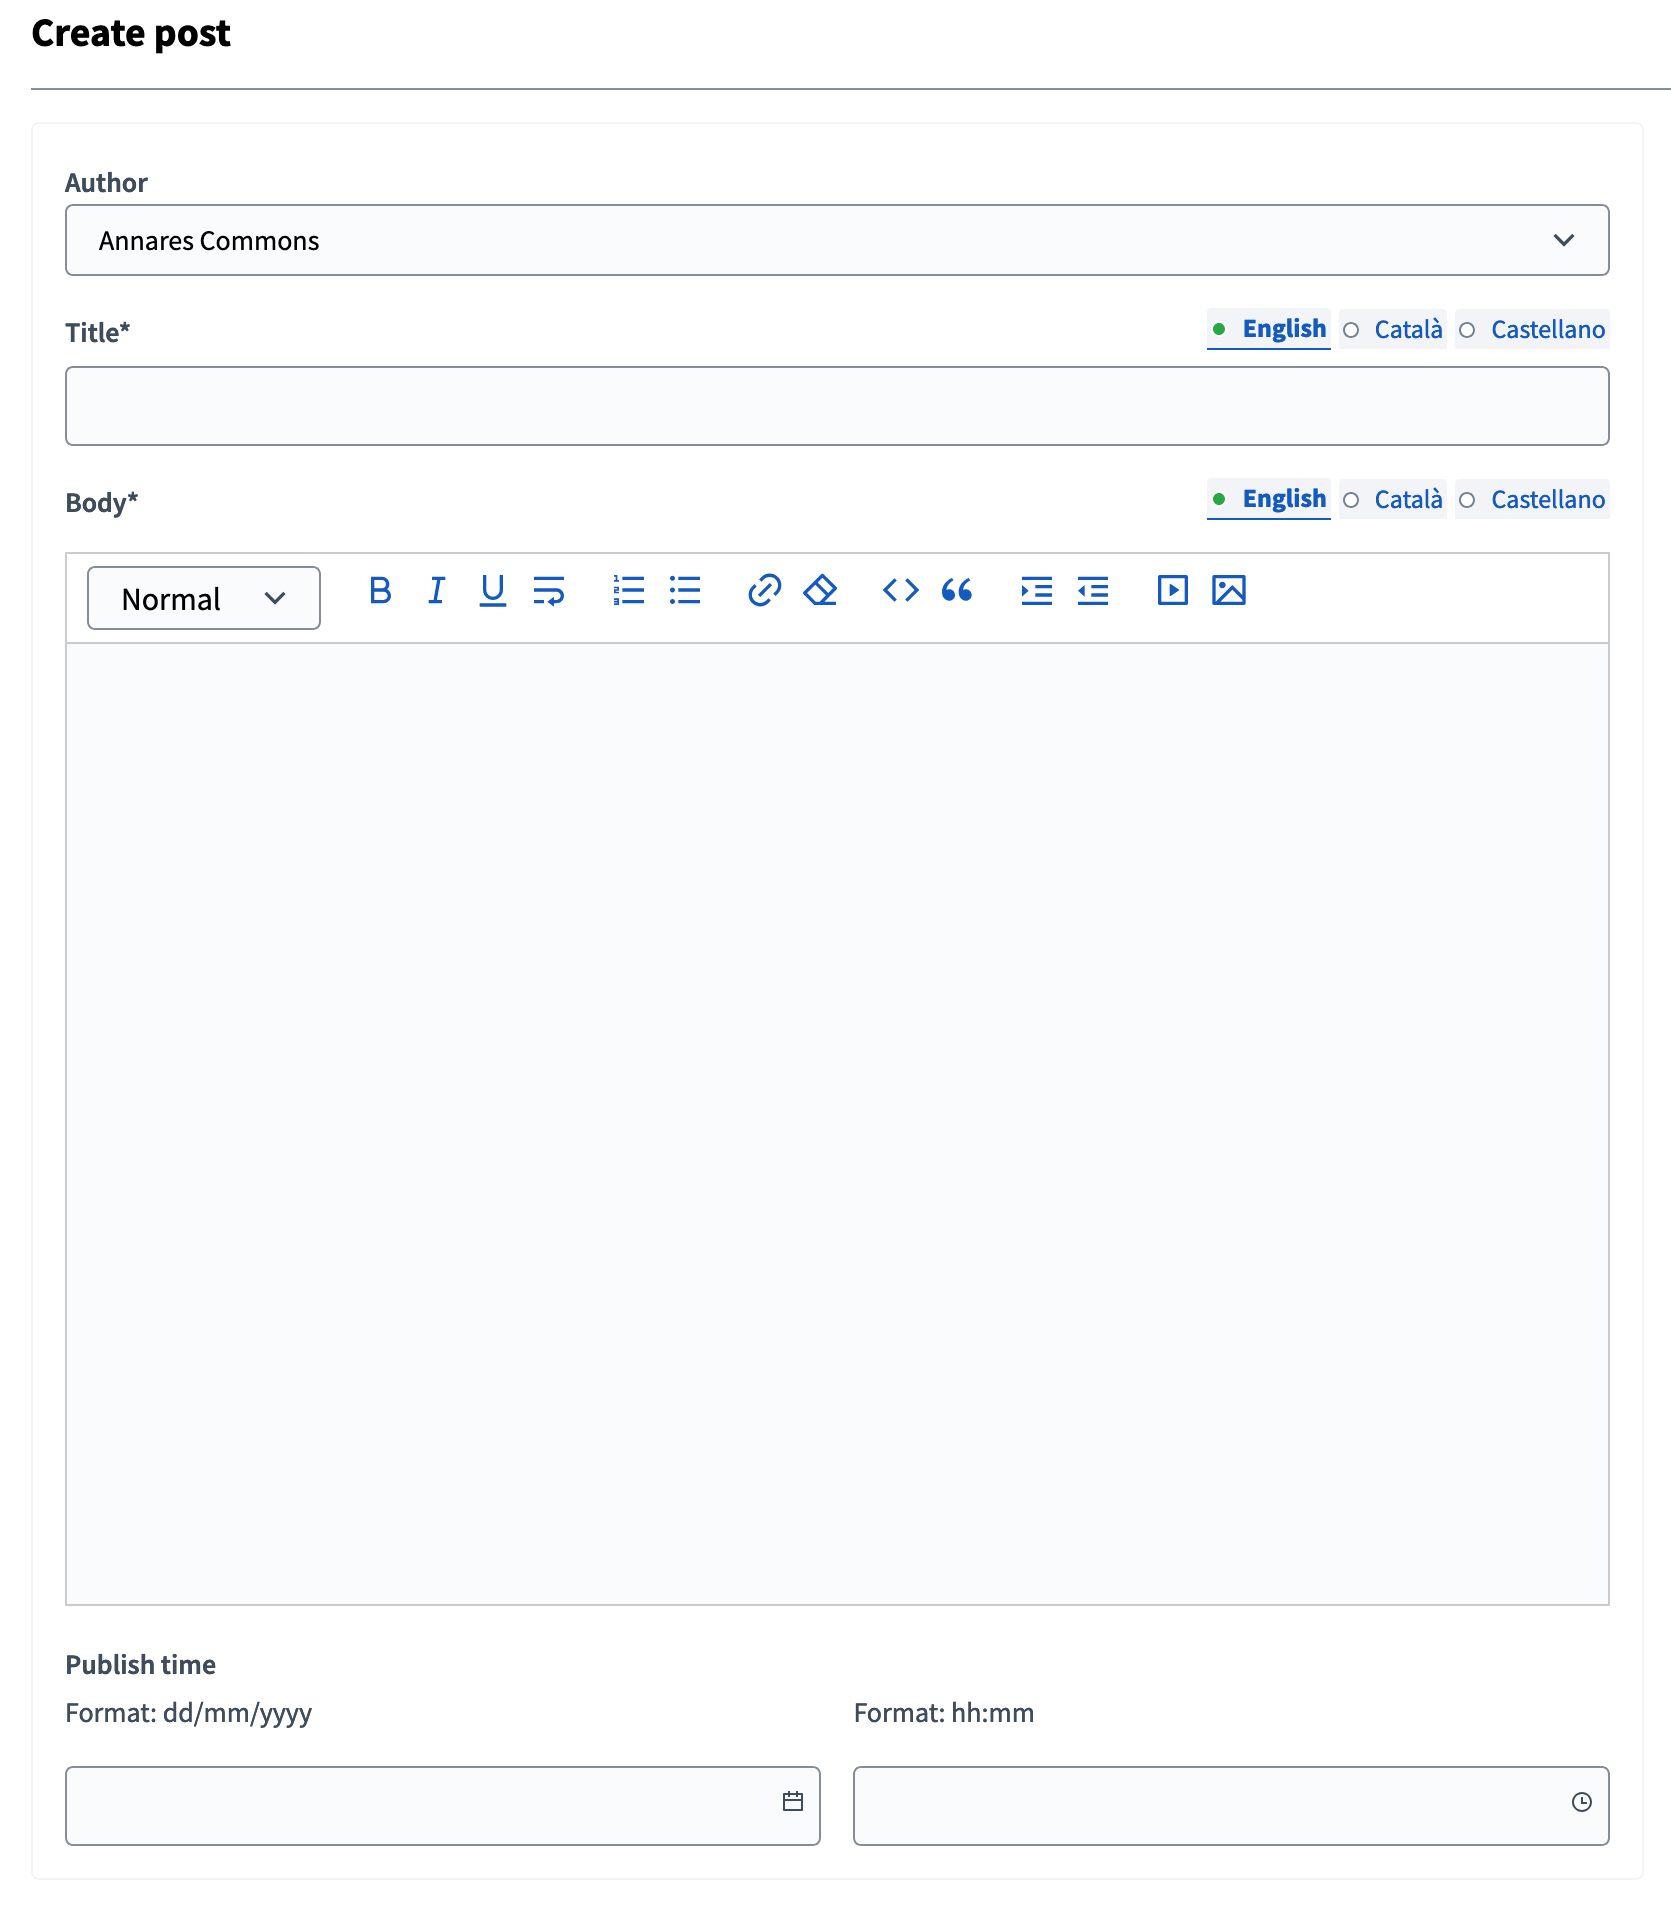
| Campo | Tipo | Descripción |
|---|---|---|
Author |
Requerido |
Participant account or user group that will be the author of the post. |
Título |
Requerido |
¿Cuál es el título de esta entrada. |
Cuerpo |
Requerido |
¿Cuál es la descripción de esta entrada. |
Publish time |
Opcional |
Publication date for the post. If in the future, the post is not published until this date. |
Acciones
| Icono | Nombre | Definición |
|---|---|---|
|
Editar |
Edit form for this post. |
|
Carpeta |
For classifying Attachments. |
|
Adjuntos |
Documents that are related to the post. |
|
Vista previa |
See how it’s shown in the frontend to participants. |
|
Permisos |
Handle the authorizations needed to comment or endorse this specific blog post. |
|
Eliminar |
To delete this post. |
