Private participants
Understand the basics
In some cases, you might want to restrict the participation to a specific group of participants. For instance this could be a space dedicated to the members of a commission in a big organization. For these cases you can use the private participants feature.
| Private participants list can only be reviewed in the administration panel, and is not publicly displayed. |
How to find it?
| Private participants are only available in private spaces. To enable them, make sure you tick the "Private space" checkbox when creating or editing your process or assembly. |
To create and manage private participants, click the Private participants item in the left navigation bar of the space.
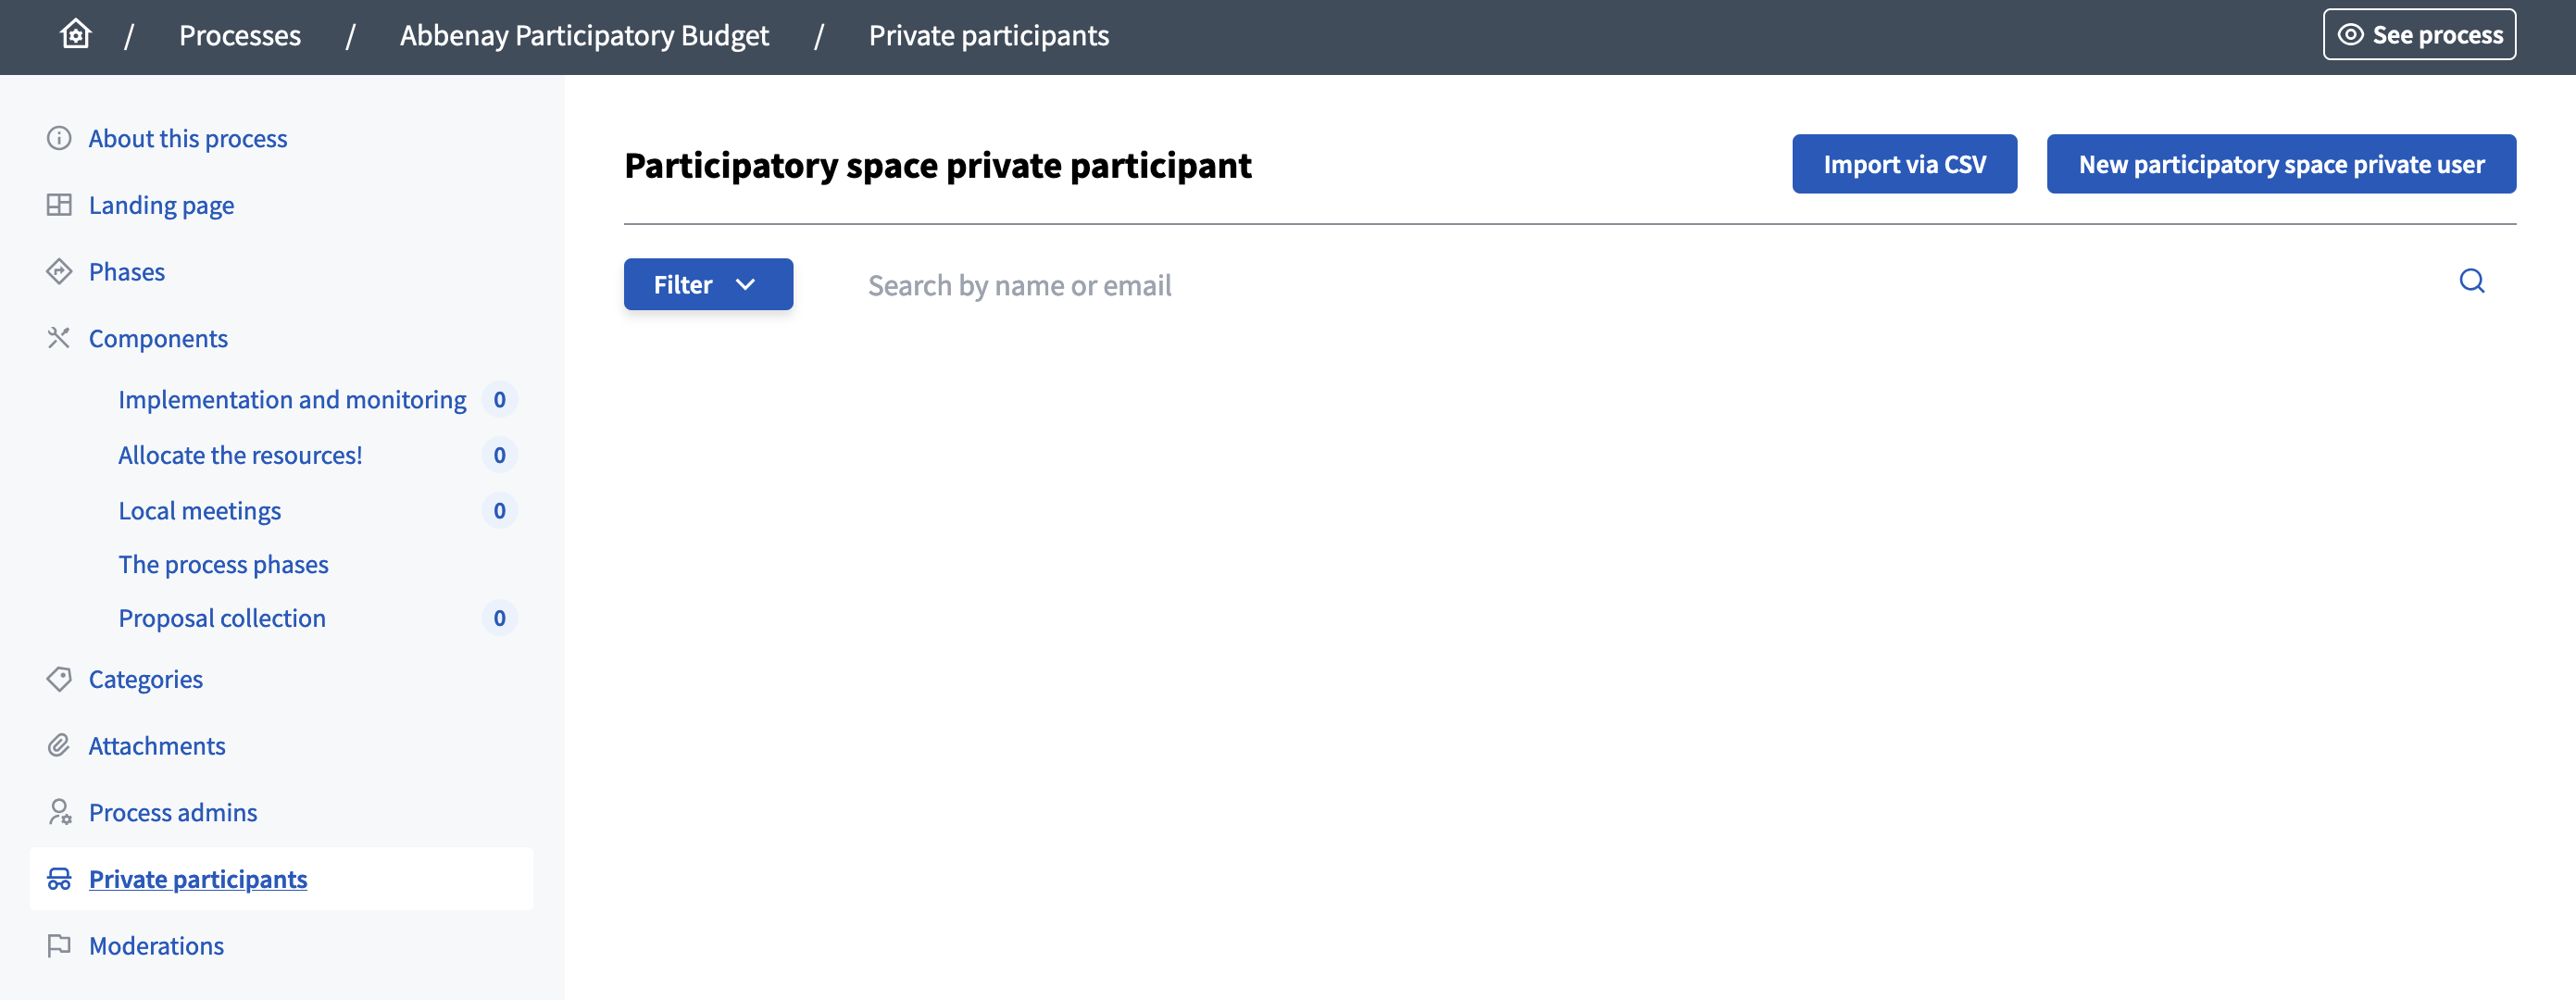
There, you are able to manage the private participants, import them in a batch, add new ones manually, etc.
Invite a private participant
Click on the "New participatory space private user" button.

| Field | Type | Description |
|---|---|---|
Name |
Required |
The name of the new private participant. |
Required |
The email of the new private participant. |
Import via CSV
Click on the "Import via CSV" button.
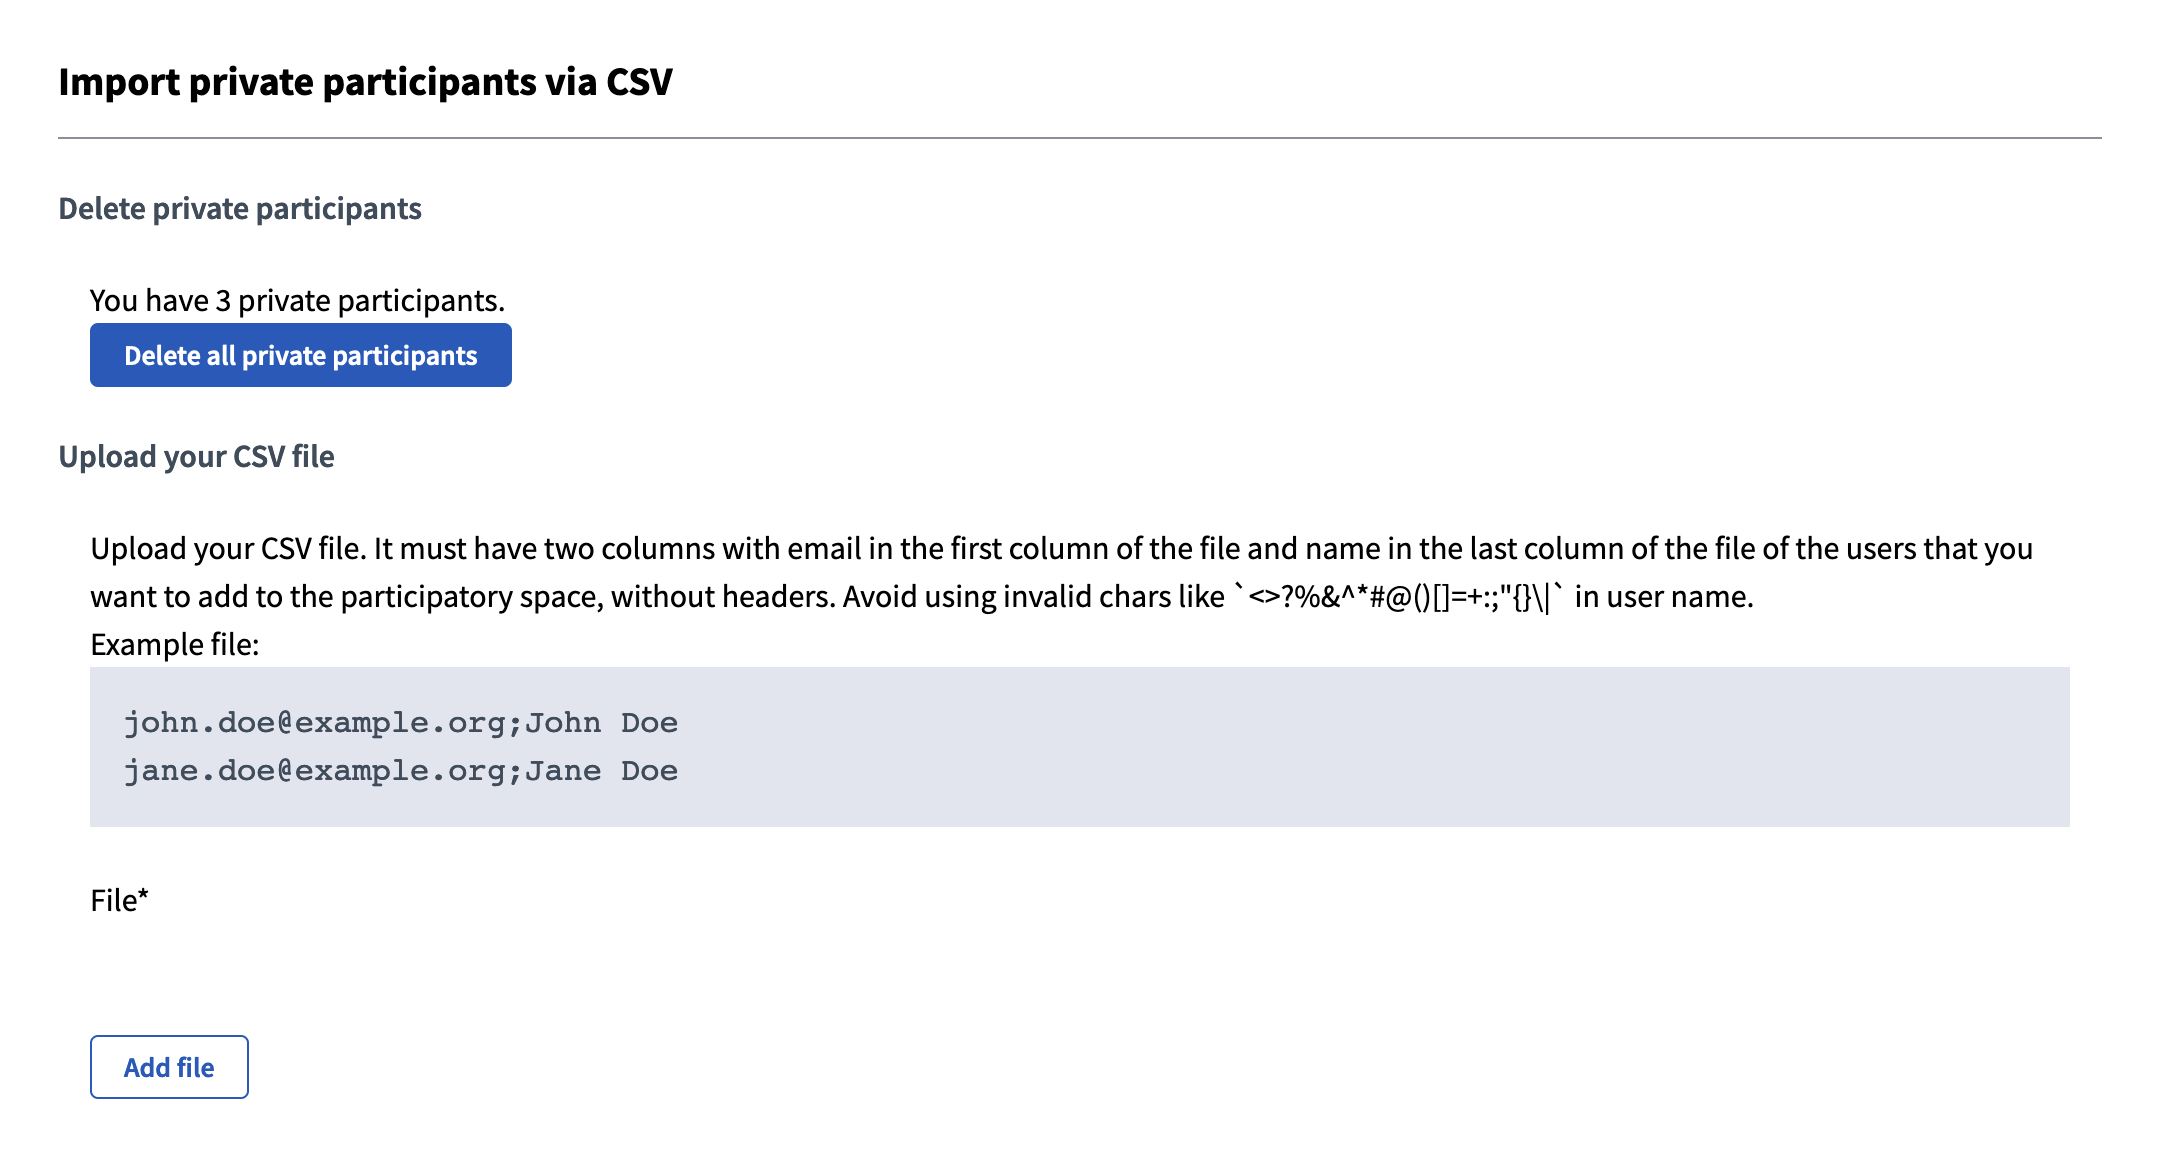
This form allows you to delete all private participants access at once, and to bulk import via CSV.
The CSV must follow the following formatting:
-
The file must have two columns, first one being emails and the second one being names of the participants you want to import.
-
The file should not have headers. That means that you do not have to add a column that says "email, name"
-
You must avoid using invalid chars like
<>?%&^*#@()[]=+:;"{}\|in user name. -
The separator between columns must be a comma (",").
Invitation
| If the email is already linked to an account on the instance, the participant is already able to participate in the space and won’t receive an invitation email. |
When a participant is added to the private participant list, but doesn’t already have an account, they get an email with a link for accepting the invitation:
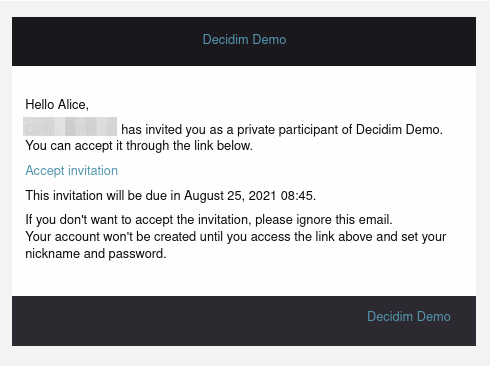
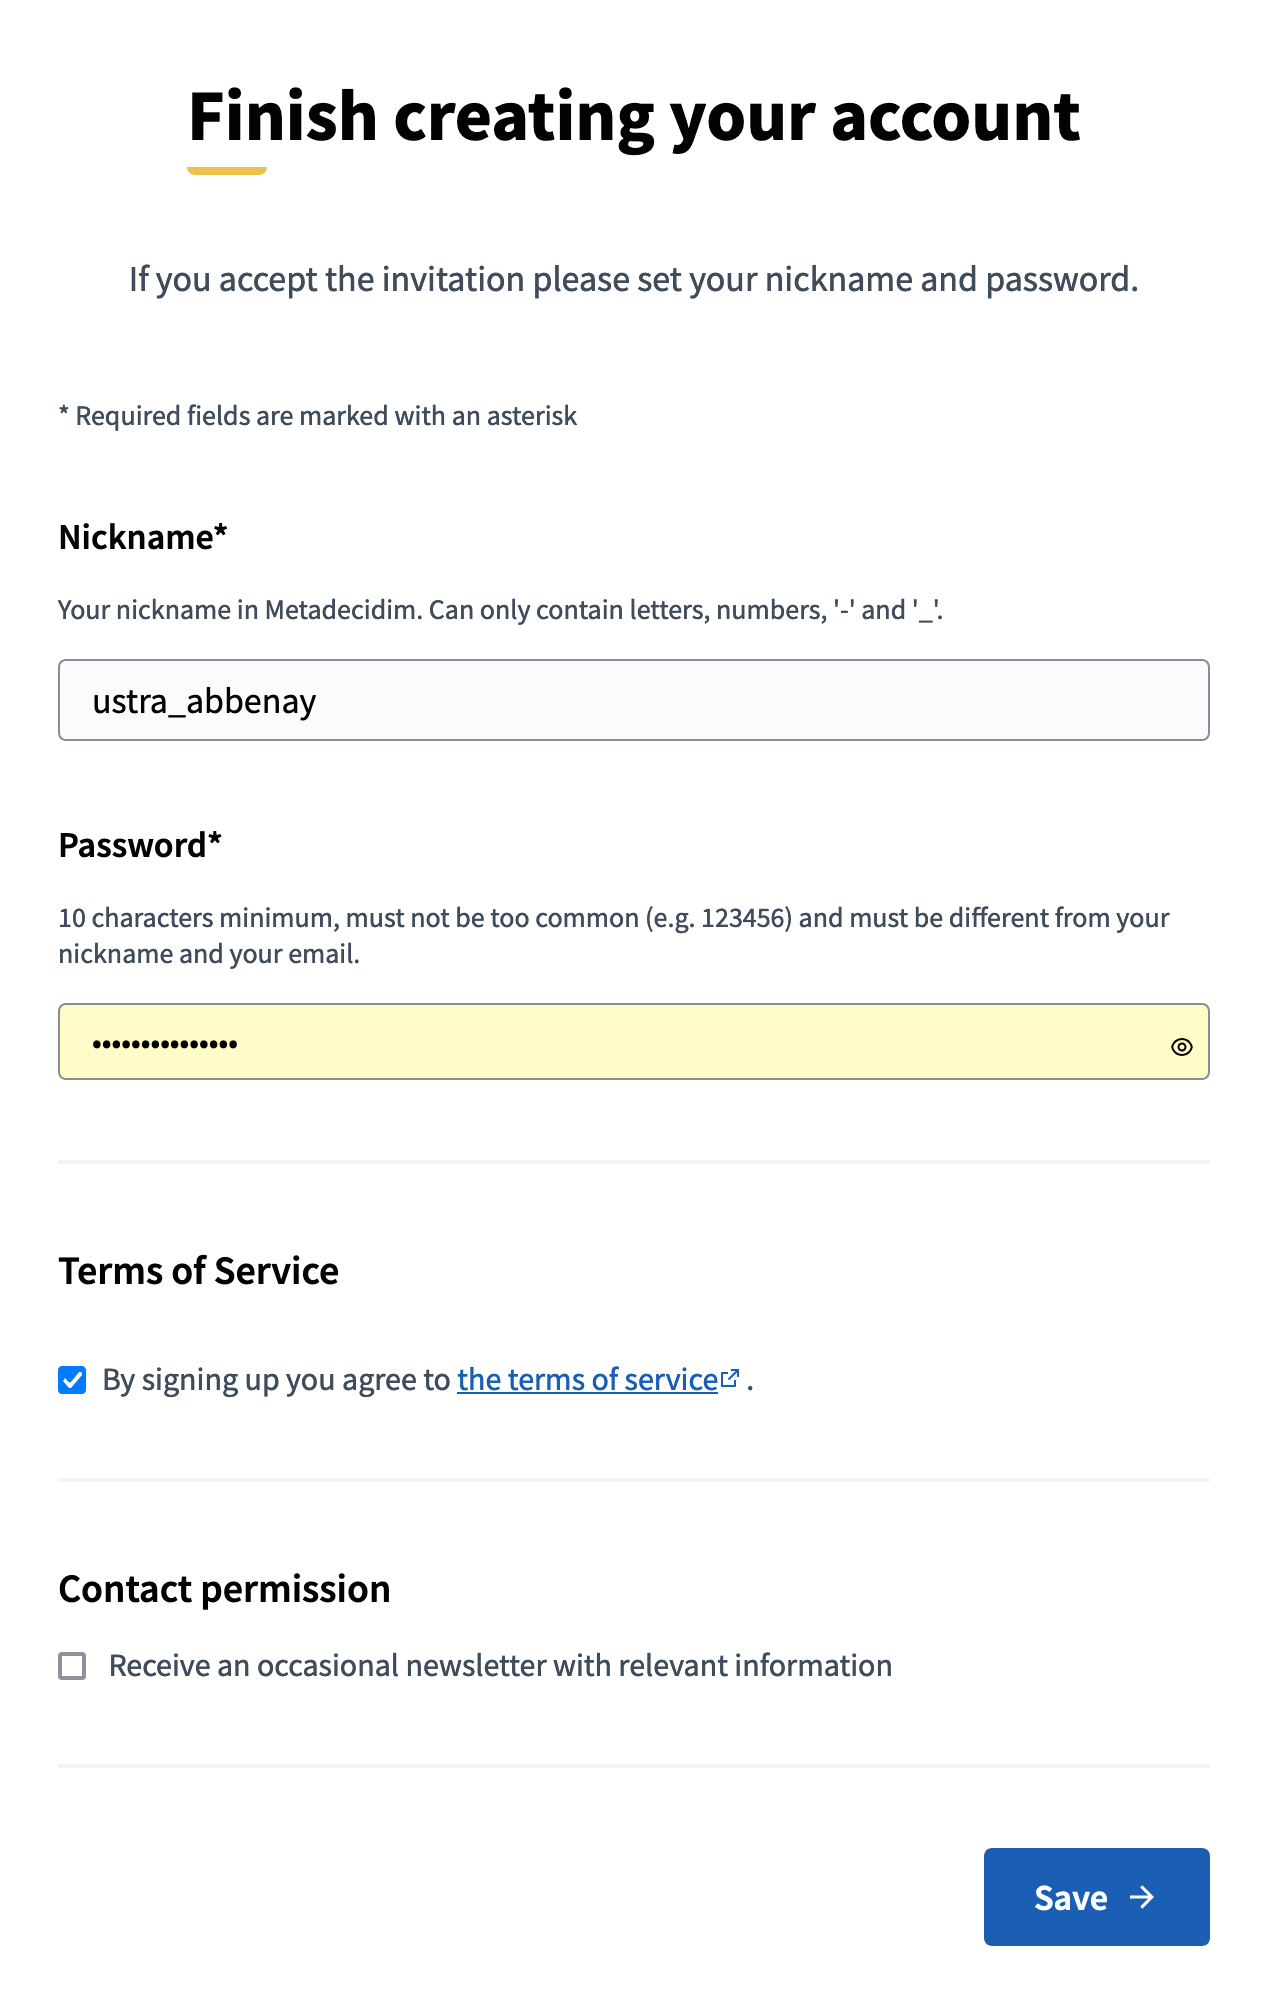
After clicking in the "Accept invitation" link in the email, they are redirected to the instance and have to finish creating their account by setting their nickname, password and accepting the Terms of Service.
Manage private participants
You can find all the private participants on the list in the administration panel, with:
-
Name: name of the private participant. If the account already exists, it is automatically changed for the account username.
-
Email: email of the participant.
-
Invitation sent at: date and hour when the invitation email was sent (when participant doesn’t already have an account).
-
Invitation accepted at: date and hour when the invitation email was accepted by the participant.
You can sort the list by clicking on the columns header, filter it and search for participants by their name or email.