Create and configure a Voting
A Voting is type of a participatory space in Decidim where you can organise and run elections.
A voting should contain one or more Election components and empowers them with:
-
Integration with physical elections: management of the physical Polling Stations and their results;
-
Integration with a census: manage who is entitled to vote;
-
Ballot styles (conditional questions): manage what questions are presented to each voter in the physical and/or virtual voting booth according to the census.
-
Monitoring committee: Give access to certain users to verify and validate the elections (physical and online).
Create a Voting
From the admin panel, head to the Voting participatory spaces from the left-hand menu and click on New Voting Space.
In the voting creation form, you will be asked to fill in:
-
Title: the title of the voting space;
-
Description: a detailed description for the voting space;
-
Voting begins/ends: the period in which the voting space is active;
-
Scope: a scope inside your Decidim instance;
-
Slug: a slug to generate the URL for the voting;
-
Census contact information: instructions on how a voter can ask a change in their census data (only necessary if a census will be set up for the voting).
-
Promoted: whether the voting should be highlighted among the other votings;
-
Banner/introductory image: images shown in the public area of the voting.
Configure a Voting
Once a voting is created, you can configure it from its page in the admin panel.
Landing Page
This will allow you to configure the look&feel of the voting space public space. You can activate/deactivate and reorder specific blocks and create custom HTML blocks.
Polling Stations
If your voting needs to be integrated with a physical election, here you can create the Polling Stations for which the Polling Officers will register and submit votes to the Bulletin Board.
In the Polling Station creation form, you will be asked to fill in:
-
Title: a name for the polling station;
-
Address: the physical address of the Polling Station. This will be also used to georeference the Polling Station on a map;
-
Location: message directed to the voters implying the exact place of the polling station
-
Location hints: additional info on the polling station location;
-
Polling station president: a Polling Officer acting as President of the Polling Station (the Polling Officer will need to be created first);
-
Polling station managers: one or more Polling Officers acting as Managers of the Polling Station (the Polling Officer will need to be created first);
Polling Officers
The Polling Officers are Decidim users that have access to a reserved area where they can manage the Polling Station(s) they are assigned to.
You can create a Polling Officer by:
-
Selecting an existing Decidim user;
-
Inviting the officer to register to Decidim by email (they will need to accept the invitation and create an account).
Once you have created a Polling Officer, remember to assign them to their Polling Station from the Polling Station itself.
Monitoring Committee
Monitoring Committee members are special users that will be able to monitor a voting. They will have access and validate the acta redacted by the Polling Officers as well as preview and validate the results of the online voting before publishing them.
You can create a Monitoring Committee Member by:
-
Selecting an existing Decidim user;
-
Inviting the member to register to Decidim by email (they will need to accept the invitation and create an account).
Ballot Styles
Ballot Styles allow you to personalise the questions the voter is presented with in the voting booth.
NB: you will need to create the questions in the Elections for this Voting before creating the Ballot Styles!
As we will see later, when uploading a census you can specify what Ballot Style a specific voter should have. This is what links a voter to a Ballot Style.
In a Ballot Style, you can specify what questions from the Elections in the current Voting shall be presented to the voter that has this specific ballot style.
In the Ballot Style creation form, you will be asked to fill in:
-
Code: a unique code that will link a voter in the census to the current Ballot Style
-
Questions for this ballot style: the questions from every Election in the Voting. Select the ones you want to be presented to the voters with this Ballot Style.
image::voting-ballot-styles.png[A Voting with 3 Ballot Styles. Once the census will be uploaded, you will be able to see how many voters are associated with every Ballot Style.]
A Voting with 3 Ballot Styles. Once the census will be uploaded, you will be able to see how many voters are associated with every Ballot Style.
Census
The census is the registry of the participants that can vote in the Voting.
The census is imported into the Voting as a CSV file and, from it, you will be able to generate the access codes that will allow voters to identify themselves in the virtual voting booth.
Click on Census from the left-hand menu to access the Census area.
If you don’t have a Census yet, you will find instructions on the required CSV record format. Notice that you can or cannot include a "Ballot Style Code" field depending on whether you use Ballot Styles. NB: if you use Ballot Styles, they will need to be created before uploading the census.
Uploading the census
Once you upload you census file, it will be processed in the background. Depending on its size, it might take several minutes.
A loading indicator refreshing every minute will keep you informed with the number of records processed. You can safely leave the page and come back to it later - the census will be processed in the background.

The census is being processed in the background.
Once the census file has been processed completely, you will see if the all data has been processed correctly or if there was some error. If the latter, chances are that some records of the CSV file uploaded didn’t follow the required format. You can delete all the census data, fix the import CSV file and upload it again.
image::voting-census-error.png[One record could not be processed.
You can hit Delete all census data and upload the file again.]
One record could not be processed.
You can hit Delete all census data and upload the file again.
Generate the access codes
Once you are happy with the census, you can proceed with the Access Codes generation. An access code is an 8-character alphanumeric code associated with a voter in the census. The voter will need this in order to vote, along with their personal data.
Mind that this is the last time you can delete the census data: once you trigger the access code generation you will node be able to modify the census anymore.
As for the processing of the CVS file, the access code generation happens in the background and could take some time, depending on the size of your census. You can safely leave the page and come back later.
Export the access codes
When the access code generation is completed, you can export them. You will receive the exportation as an encrypted zip file to your email. The export contains the access codes along with the information to send the codes via postal mail to the corresponding voter.
The access codes can only be exported once, so make sure you have access to the email address the export will be sent to.
In the email you will receive the instructions on how to decrypt the export file, along with the password.
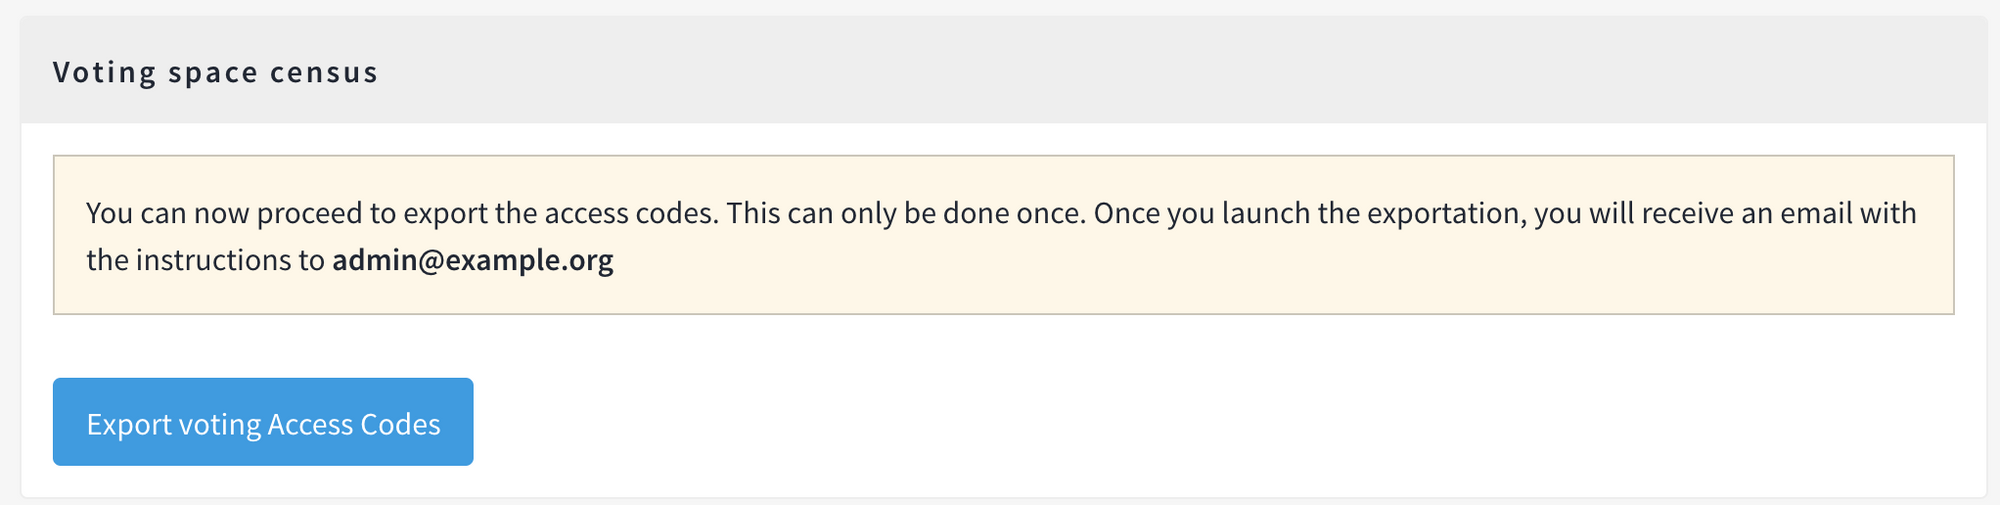
The access codes have been generated - next step: export them.
| You can only export one time. |
Now the census is frozen and cannot be modified anymore.
